How to Add Expenses to Notion With Apple Shortcuts (2026)
If your whole life already lives in Notion, it makes sense to keep your spending there too. The problem is capture speed. Opening Notion, finding the right database, and adding a row by hand is slow enough that most people skip it after a week.
This guide fixes that. You will learn how to add expenses to Notion with Apple Shortcuts so a full entry takes about two seconds from your Home Screen, Siri, or an NFC tag. It uses Notion's official API, so it is reliable once set up and writes straight into a database you already own.
It is a few more steps than a plain spreadsheet shortcut, mostly because Notion needs an API token, but you work through it once and never touch it again. If you would rather write to a sheet, our Apple Numbers expense tracker shortcut guide covers that simpler path.
What You Are Actually Building
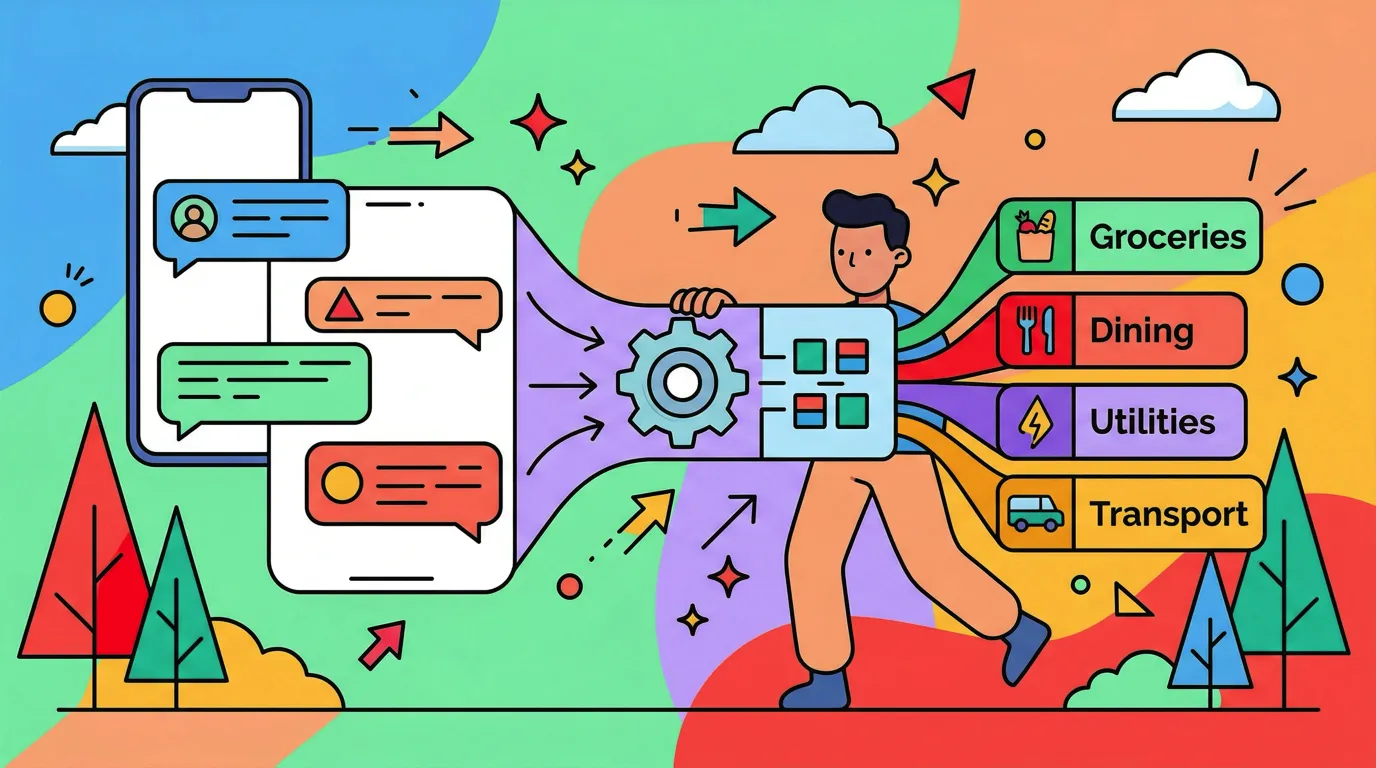
The shortcut collects an amount, a category, and a date, then sends them to Notion as a new page in your expenses database. Under the hood it makes a single web request using a token that proves the request is yours.
Notion has no native "Add Row" action in the Shortcuts app the way Apple Numbers does. So you use a Get Contents of URL action to talk to the Notion API directly. It sounds technical, but it is just filling in a few boxes.
What You Need Before You Start
- An iPhone with the Shortcuts app installed.
- A Notion account with a database for expenses. Give it properties named Name (title), Amount (number), Category (select), and Date (date).
- About fifteen minutes for the one-time setup.
- Optional: a pack of programmable NFC stickers if you want the tap-a-tag trigger later.
Step 1: Create a Notion Integration and Get a Token
An integration is the credential your shortcut uses to write into Notion on your behalf.
- Go to notion.so/my-integrations and choose New integration.
- Name it something like "Expense Logger", pick your workspace, and set the type to Internal.
- Under capabilities, allow it to Insert content.
- Save, then copy the Internal Integration Secret. It starts with
secret_orntn_.
Treat that token like a password. Anyone who has it can write to your workspace, so do not paste it anywhere public.
Step 2: Share Your Database With the Integration
Creating the integration is not enough. You have to grant it access to the specific database you want to write to.
Open your expenses database in Notion, click the three-dot menu in the top right, choose Connections, and add the integration you just made. Skip this step and every request comes back with a "page cannot be found" error, even when your token is correct.
Step 3: Get Your Database ID
Open your expenses database as a full page and look at the URL in your browser. It looks like this:
https://www.notion.so/yourworkspace/8a1b2c3d4e5f6071829304a5b6c7d8e9?v=...
The 32-character string between the last slash and the ? is your database ID. Copy it and keep it next to your token. You will paste both into the shortcut in a moment.
Step 4: Build the Shortcut
Now open the Shortcuts app and create a new shortcut with the plus button.
-
Ask for the amount. Add an Ask for Input action, set the type to Number, and use the prompt "How much?".
-
Ask for the category. Add a Choose from Menu action and list your usual categories: Food, Transport, Groceries, Bills, Fun. A fixed menu is faster than typing.
-
Format the date. Add a Format Date action on the Current Date, and set the format to
yyyy-MM-dd. Notion's API expects dates in that exact shape. -
Add the web request. Add a Get Contents of URL action and point it at
https://api.notion.com/v1/pages. Expand Show More and set the method to POST. -
Add the headers. Add three request headers:
Authorizationwith the valueBearerfollowed by a space and your token.Notion-Versionwith the value2022-06-28.Content-Typewith the valueapplication/json.
- Add the JSON body. Set the request body to JSON and build this structure, dropping in your database ID and the variables from the earlier actions where shown:
{
  "parent": { "database_id": "YOUR_DATABASE_ID" },
  "properties": {
    "Name": { "title": [{ "text": { "content": "Provided Input" } }] },
    "Amount": { "number": Provided Input },
    "Category": { "select": { "name": "Menu Result" } },
    "Date": { "date": { "start": "Formatted Date" } }
  }
}
The property names on the left (Name, Amount, Category, Date) must match your Notion columns letter for letter, including capital letters. If Notion calls the column amount and your body says Amount, the request fails.
- Name and test it. Rename the shortcut "Log to Notion" and run it once. Enter an amount, pick a category, and confirm a new row appears in your database. A successful run returns a block of JSON describing the page it created.
Step 5: Trigger It Without Opening Anything
Building the shortcut is half the win. The other half is firing it in one motion.
- Home Screen: tap the shortcut name, then Add to Home Screen for a one-tap button.
- Siri: say "Hey Siri, Log to Notion" and answer the prompts by voice.
- NFC tag: stick a programmable tag on your wallet, then attach the shortcut in Shortcuts, Automation, NFC so a tap after you pay logs the expense.
For more trigger ideas and automations, our Apple Shortcuts expense tracking guide has the full menu.
Where This Method Gets Fragile
The API route works well, and for a Notion power user it is worth the setup. Be honest about the ceiling, though, because it shows up within a few weeks:
- The schema is brittle. Rename a property or change Category from a select to a text field, and the shortcut quietly fails until you edit the JSON.
- You manage a secret. The token sits inside your shortcut. If it leaks or you rotate it, every device needs the new one.
- You are still the categorizer. The menu is manual, so you pick the category every single time.
- No totals or insight. Notion holds the rows, but running totals, trends, and budgets are still yours to build.
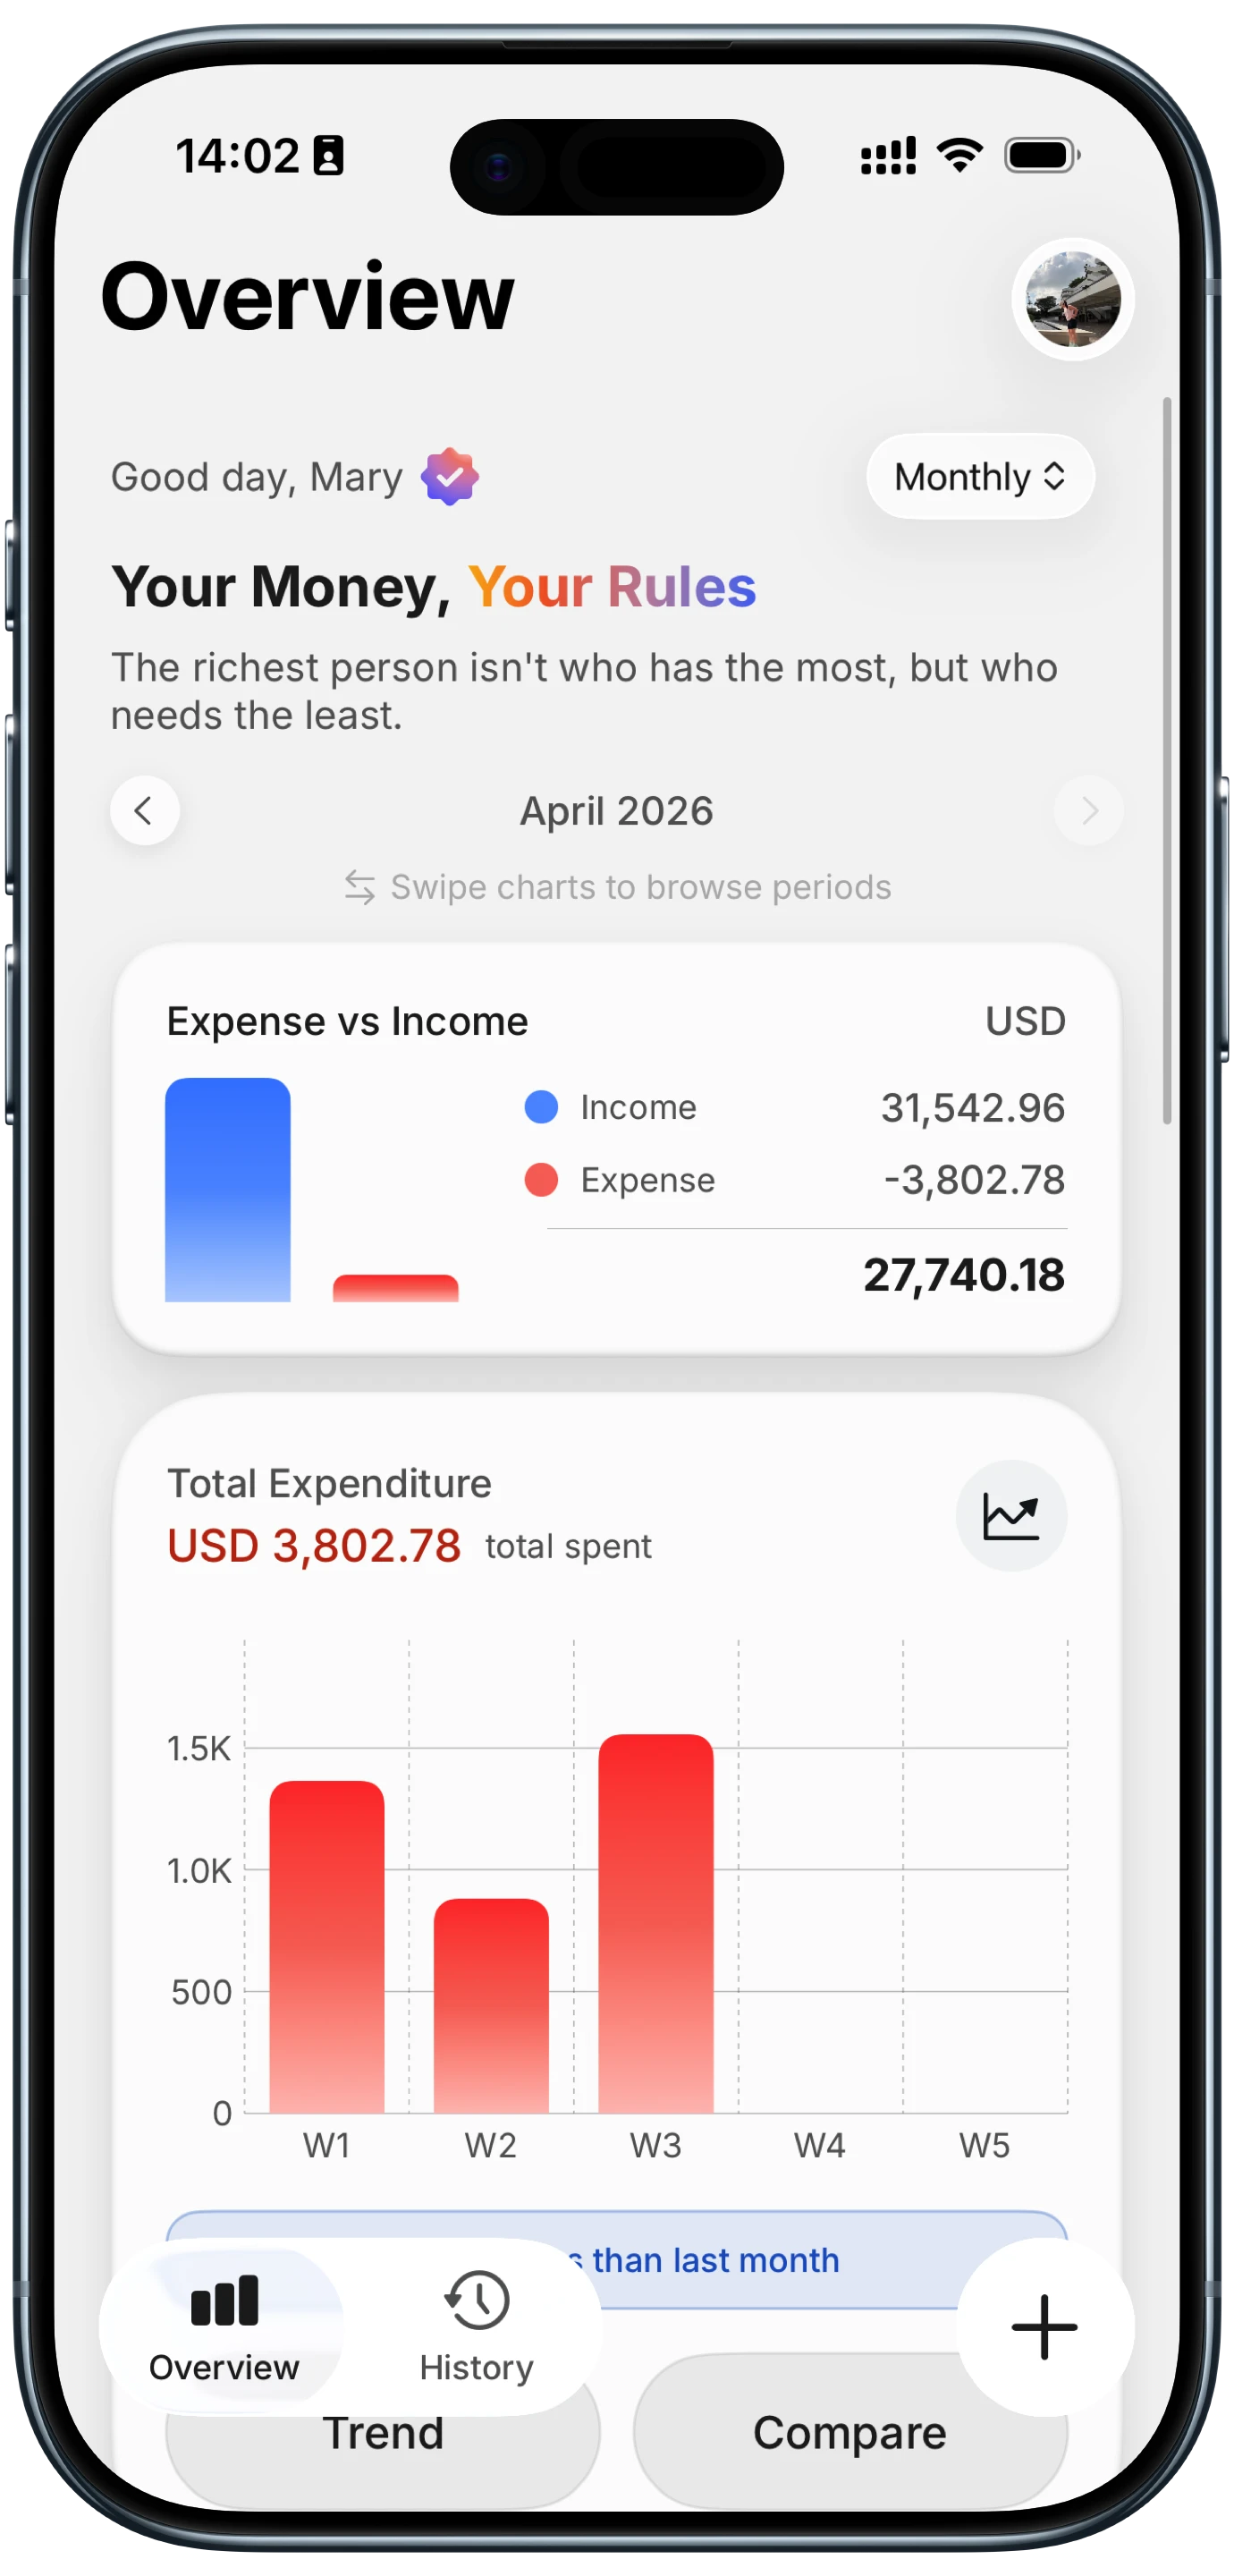
This is where a purpose-built app earns its keep. Finny logs from a tap or a spoken line and auto-categorizes it with a running total, so there is no API token to guard and no database ID to keep in sync when your setup changes.

Finny app's Quick Log feature
If the upkeep ever outweighs the tidiness, download Finny from the App Store and let the categorization happen for you, while Notion stays your archive rather than your data-entry chore. To weigh it against other options, see our best iOS budget apps roundup.
Frequently Asked Questions
Do I need a paid Notion plan to use the API?
No. The Notion API works on the free plan, and internal integrations cost nothing. You only need a free workspace, a database to write into, and the integration token from your settings. Paid plans add team features and version history, but none of that is required to log expenses from a shortcut on your own iPhone.
Why does my shortcut return an "object not found" error?
Almost always because the integration was never connected to the database. A valid token is not enough on its own. Open the database, use the three-dot menu, choose Connections, and add your integration. If it still fails, confirm your database ID is the 32-character string from the URL, not the workspace name in front of it.
Can I add expenses to Notion with Siri using this shortcut?
Yes. Once the shortcut exists, Siri can run it by name. Say "Hey Siri, Log to Notion" and answer the amount and category prompts by voice. It is the fastest hands-free way to record a purchase. The web request still runs in the background, so you need an internet connection for the entry to reach Notion.
What if I want to log to a spreadsheet instead?
A spreadsheet is simpler because it skips the token and API entirely. Apple Numbers has a native Add Row to Table action, and Google Sheets can be reached through an Apps Script webhook. Our Google Sheets expense shortcut guide walks through that path if you prefer rows in a sheet over pages in a database.
Is the Notion API request secure?
The request travels over HTTPS, so the data is encrypted in transit. The weak point is the token stored inside your shortcut. Keep it out of shared shortcuts, screenshots, and public links, and rotate it in your integration settings if you suspect it leaked. For a personal expense log the exposure is low, but the token still deserves the same care as a password.
The Bottom Line
Notion is a fine home for your expenses if you already work there, and Apple Shortcuts closes the capture-speed gap that usually kills the habit. Set up the integration once, wire the shortcut to Siri or an NFC tag, and log spending in seconds.
Just know the tradeoff: the API route gives you tidy pages but asks you to maintain a token and a rigid schema. If that upkeep ever stops being worth it, hand the categorizing to an app and let Notion be your archive. Either way, the goal is the same: record the expense before you forget it.