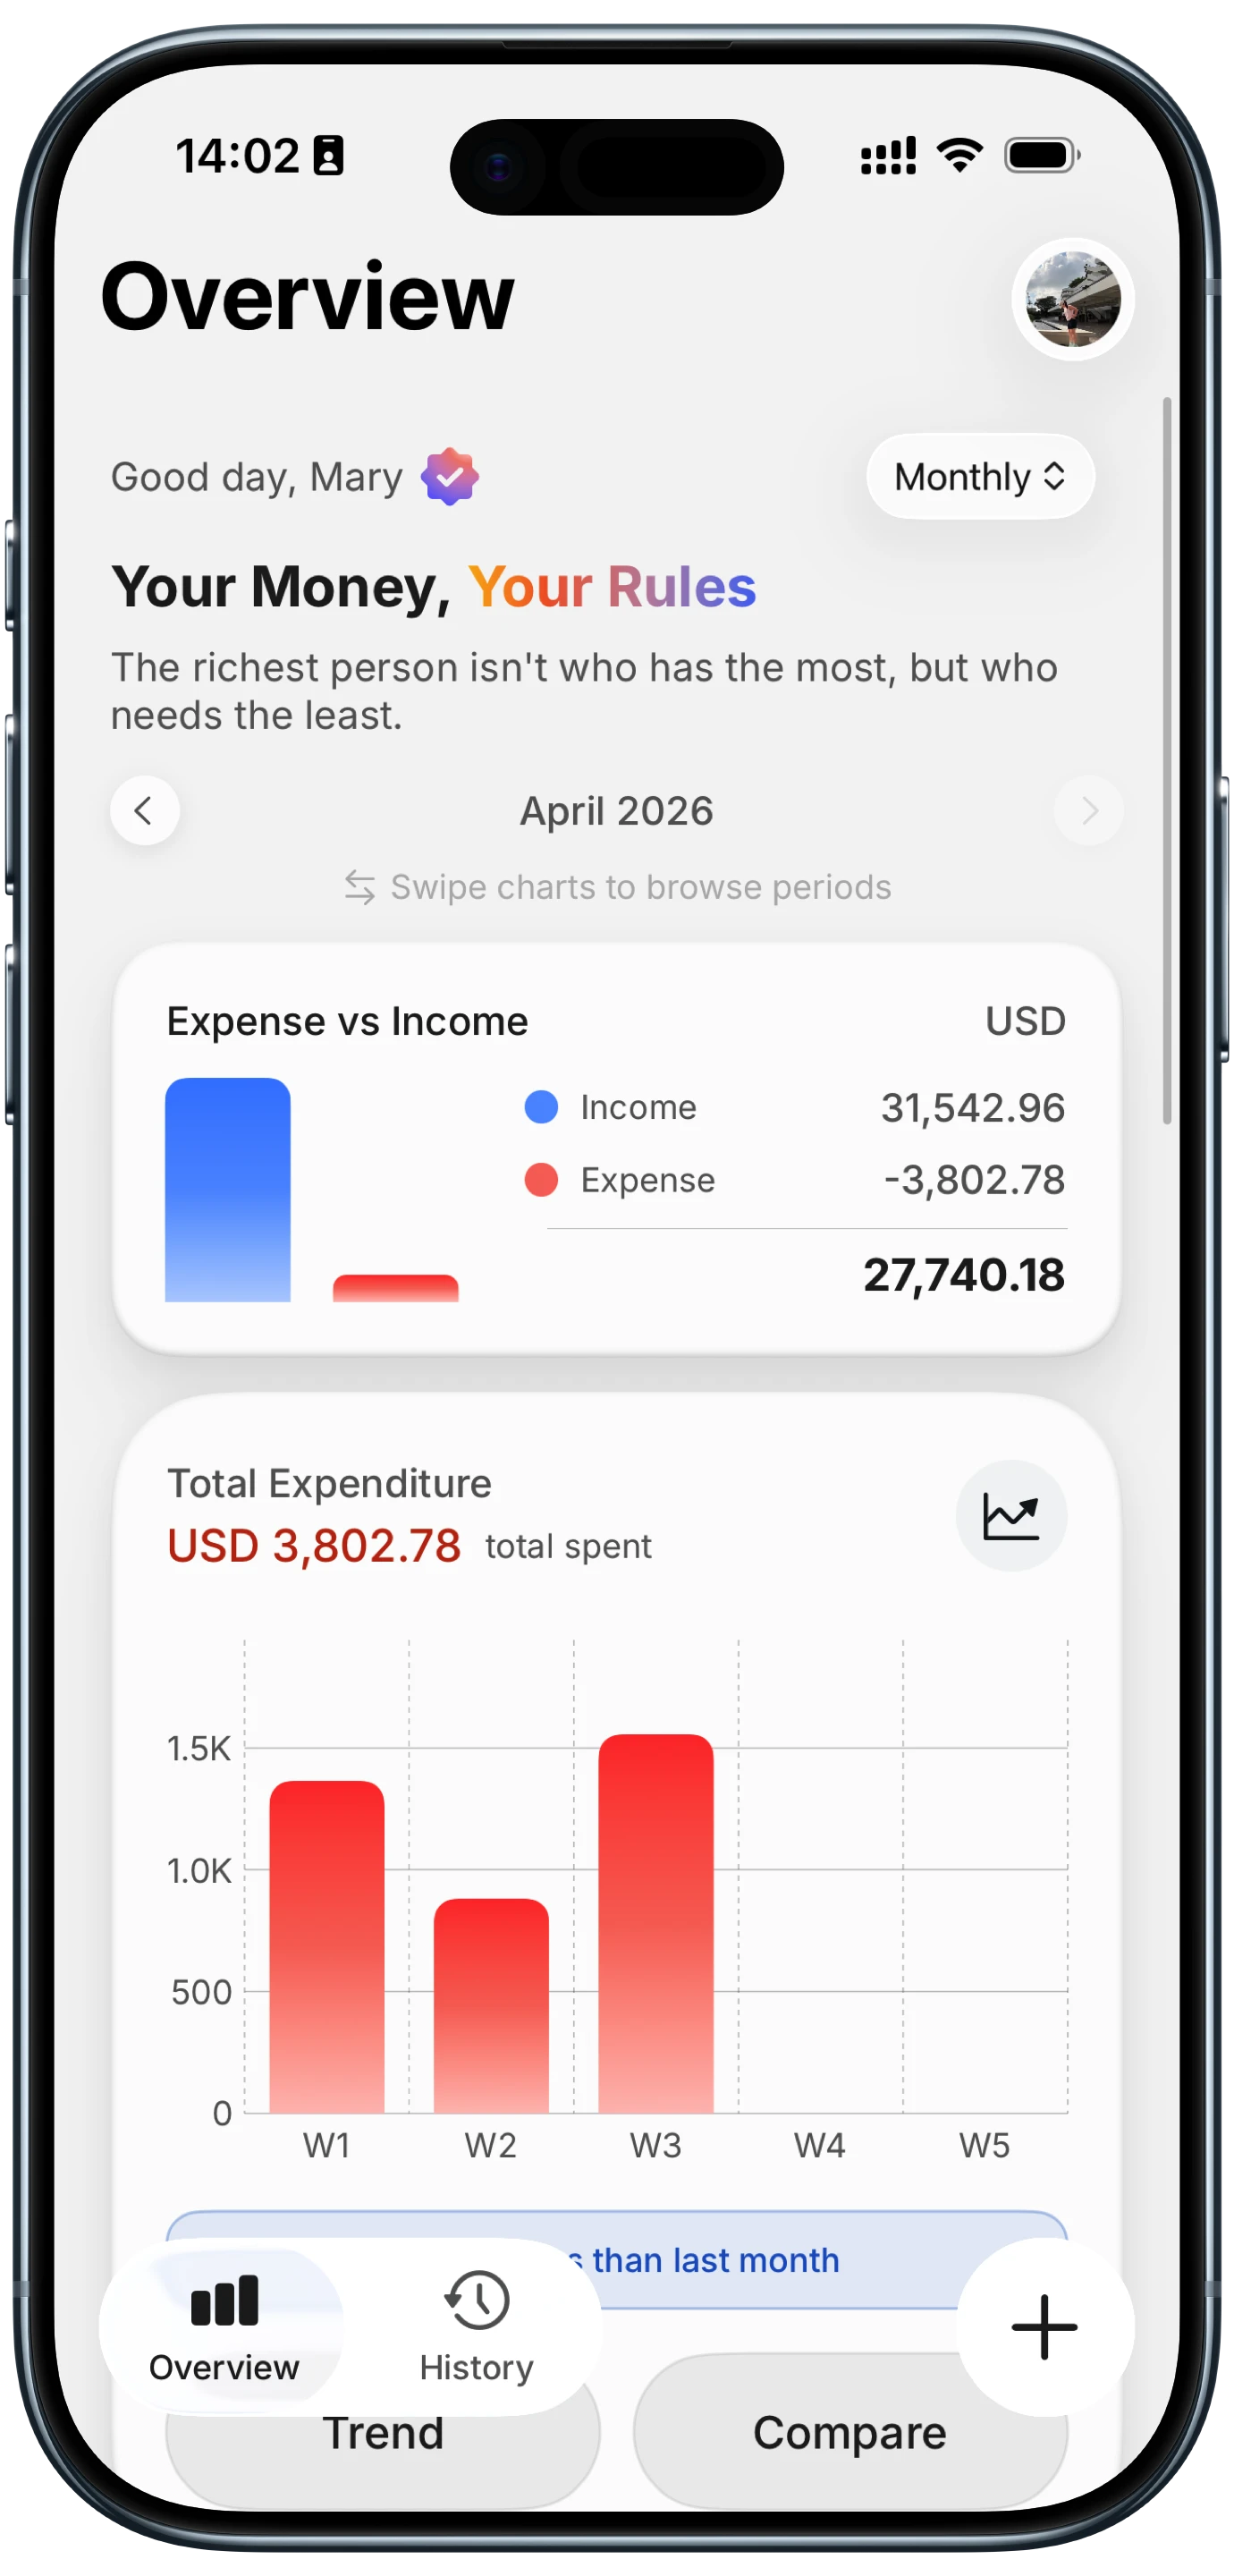
Track Expenses in Apple Numbers With a Shortcut (2026)
If you already keep your budget in a spreadsheet, you do not need a new app to log spending. You just need a faster way to get numbers into it.
This guide shows you how to track expenses in Apple Numbers with a shortcut that asks for an amount, a category, and the date, then drops a new row into your table. Numbers is the easiest destination, because Shortcuts has a built in Add Row to Table action that writes straight to your sheet. No formulas, no export.
By the end you will have a one tap button that logs a purchase in two seconds. For the wider menu of ideas, skim our Apple Shortcuts for expense tracking guide first, then build this one.
Why Numbers Is the Easiest Destination
Writing to a cloud spreadsheet like Google Sheets works, but it usually leans on a third party action or an extra login. Numbers is different: it lives on your device, syncs through iCloud on its own, and exposes a native Shortcuts action that understands tables, sheets, and columns.
So the shortcut maps your amount, category, and date straight to the matching columns, with no glue code. The one trade off is that Numbers must be set up a specific way first, the step people skip before wondering why the row lands in the wrong place.
What You Need Before You Start
- An iPhone with the Shortcuts app, preinstalled and free to reinstall if you deleted it.
- The Numbers app, free from the App Store if it is not already installed.
- About ten minutes, plus optional NFC stickers if you want a tap a tag trigger later.
Step 1: Set Up the Numbers Spreadsheet
The shortcut can only write into a table that already exists, so build the sheet first.
- Open Numbers and create a new blank spreadsheet.
- Rename the default table to something clear, for example Expenses.
- Set your header row to four columns in this exact order: Date, Amount, Category, Note.
- Delete any empty placeholder rows so your data starts clean.
- Save it to iCloud Drive so Shortcuts can find it.
Keep the column order fixed. The most common reason these shortcuts break later is a reordered or renamed column, which quietly points the data at the wrong place.
Step 2: Build the Shortcut in Shortcuts
Now open the Shortcuts app and tap the + in the top right to start a new shortcut.
First, collect the amount. Tap Add Action, search for Ask for Input, and choose it. Set the input type to Number and the prompt to something like "How much?". This is the box that appears when the shortcut runs.
Next, collect the category. Add a Choose from Menu action and list your usual categories as menu items, for example Food, Transport, Groceries, Fun, and Bills. A fixed menu is faster and cleaner than typing a category by hand.
Finally, add a Current Date action so each row is stamped with the moment you logged it. Leave the format as is, since Numbers reads it as a date.
Step 3: Add the Add Row to Table Action
This is the step that makes Numbers so easy. Add one more action and search for Add Row to Table, then select it.
Point it at your Expenses file in iCloud Drive, then its sheet (usually Sheet 1) and your Expenses table. Once the table is selected, the action shows one field per column. Map each variable to its column:
- Date column: insert the Current Date variable.
- Amount column: insert the Provided Input variable from Ask for Input.
- Category column: insert the Menu Result variable from Choose from Menu.
- Note column: leave blank, or add a second Ask for Input for an optional note.
Tap each field, then tap the variable chip above the keyboard to drop in the right value. When all three are mapped, the shortcut is done.
Step 4: Name It, Test It, and Add It to Your Home Screen
Tap the shortcut name, rename it "Log to Numbers", and pick an icon. Then run it once: enter an amount, choose a category, and open your Numbers sheet to confirm a fresh row appeared in the correct columns.
If the row is correct, open the settings menu and choose Add to Home Screen so the shortcut is a single tap away.
Step 5: Trigger It Without Opening Anything
The other half of the win is never having to hunt for the shortcut.
- Siri: say "Hey Siri, Log to Numbers" and answer the prompts by voice.
- NFC tag: stick a programmable tag on your wallet, then in Shortcuts, Automation, NFC attach your shortcut so a tap fires it after you pay.
- Home Screen or Lock Screen widget: add the Shortcuts widget for one tap access.
For more one tap capture ideas, see our roundup of ways to log an expense in seconds.
The Honest Limitations
A Numbers shortcut is genuinely good, and for many people it is enough. Be honest about the ceiling, though:
- Setup is fragile. The table has to be built exactly right, and reordering or renaming a column makes the shortcut write to the wrong place or stop working.
- There is no auto categorization. You pick the category from the menu every single time. The sheet never learns.
- You build the summaries by hand. Charts, monthly totals, and category breakdowns are all manual formulas and pivot work. Until then, the sheet is a pile of rows that tells you nothing about your spending.
This is the point where a purpose built app earns its keep. An app like Finny accepts the same fast, spoken or tapped input you just wired up, then keeps the running totals and categories current for you, so you never maintain a formula or pick a category by hand.
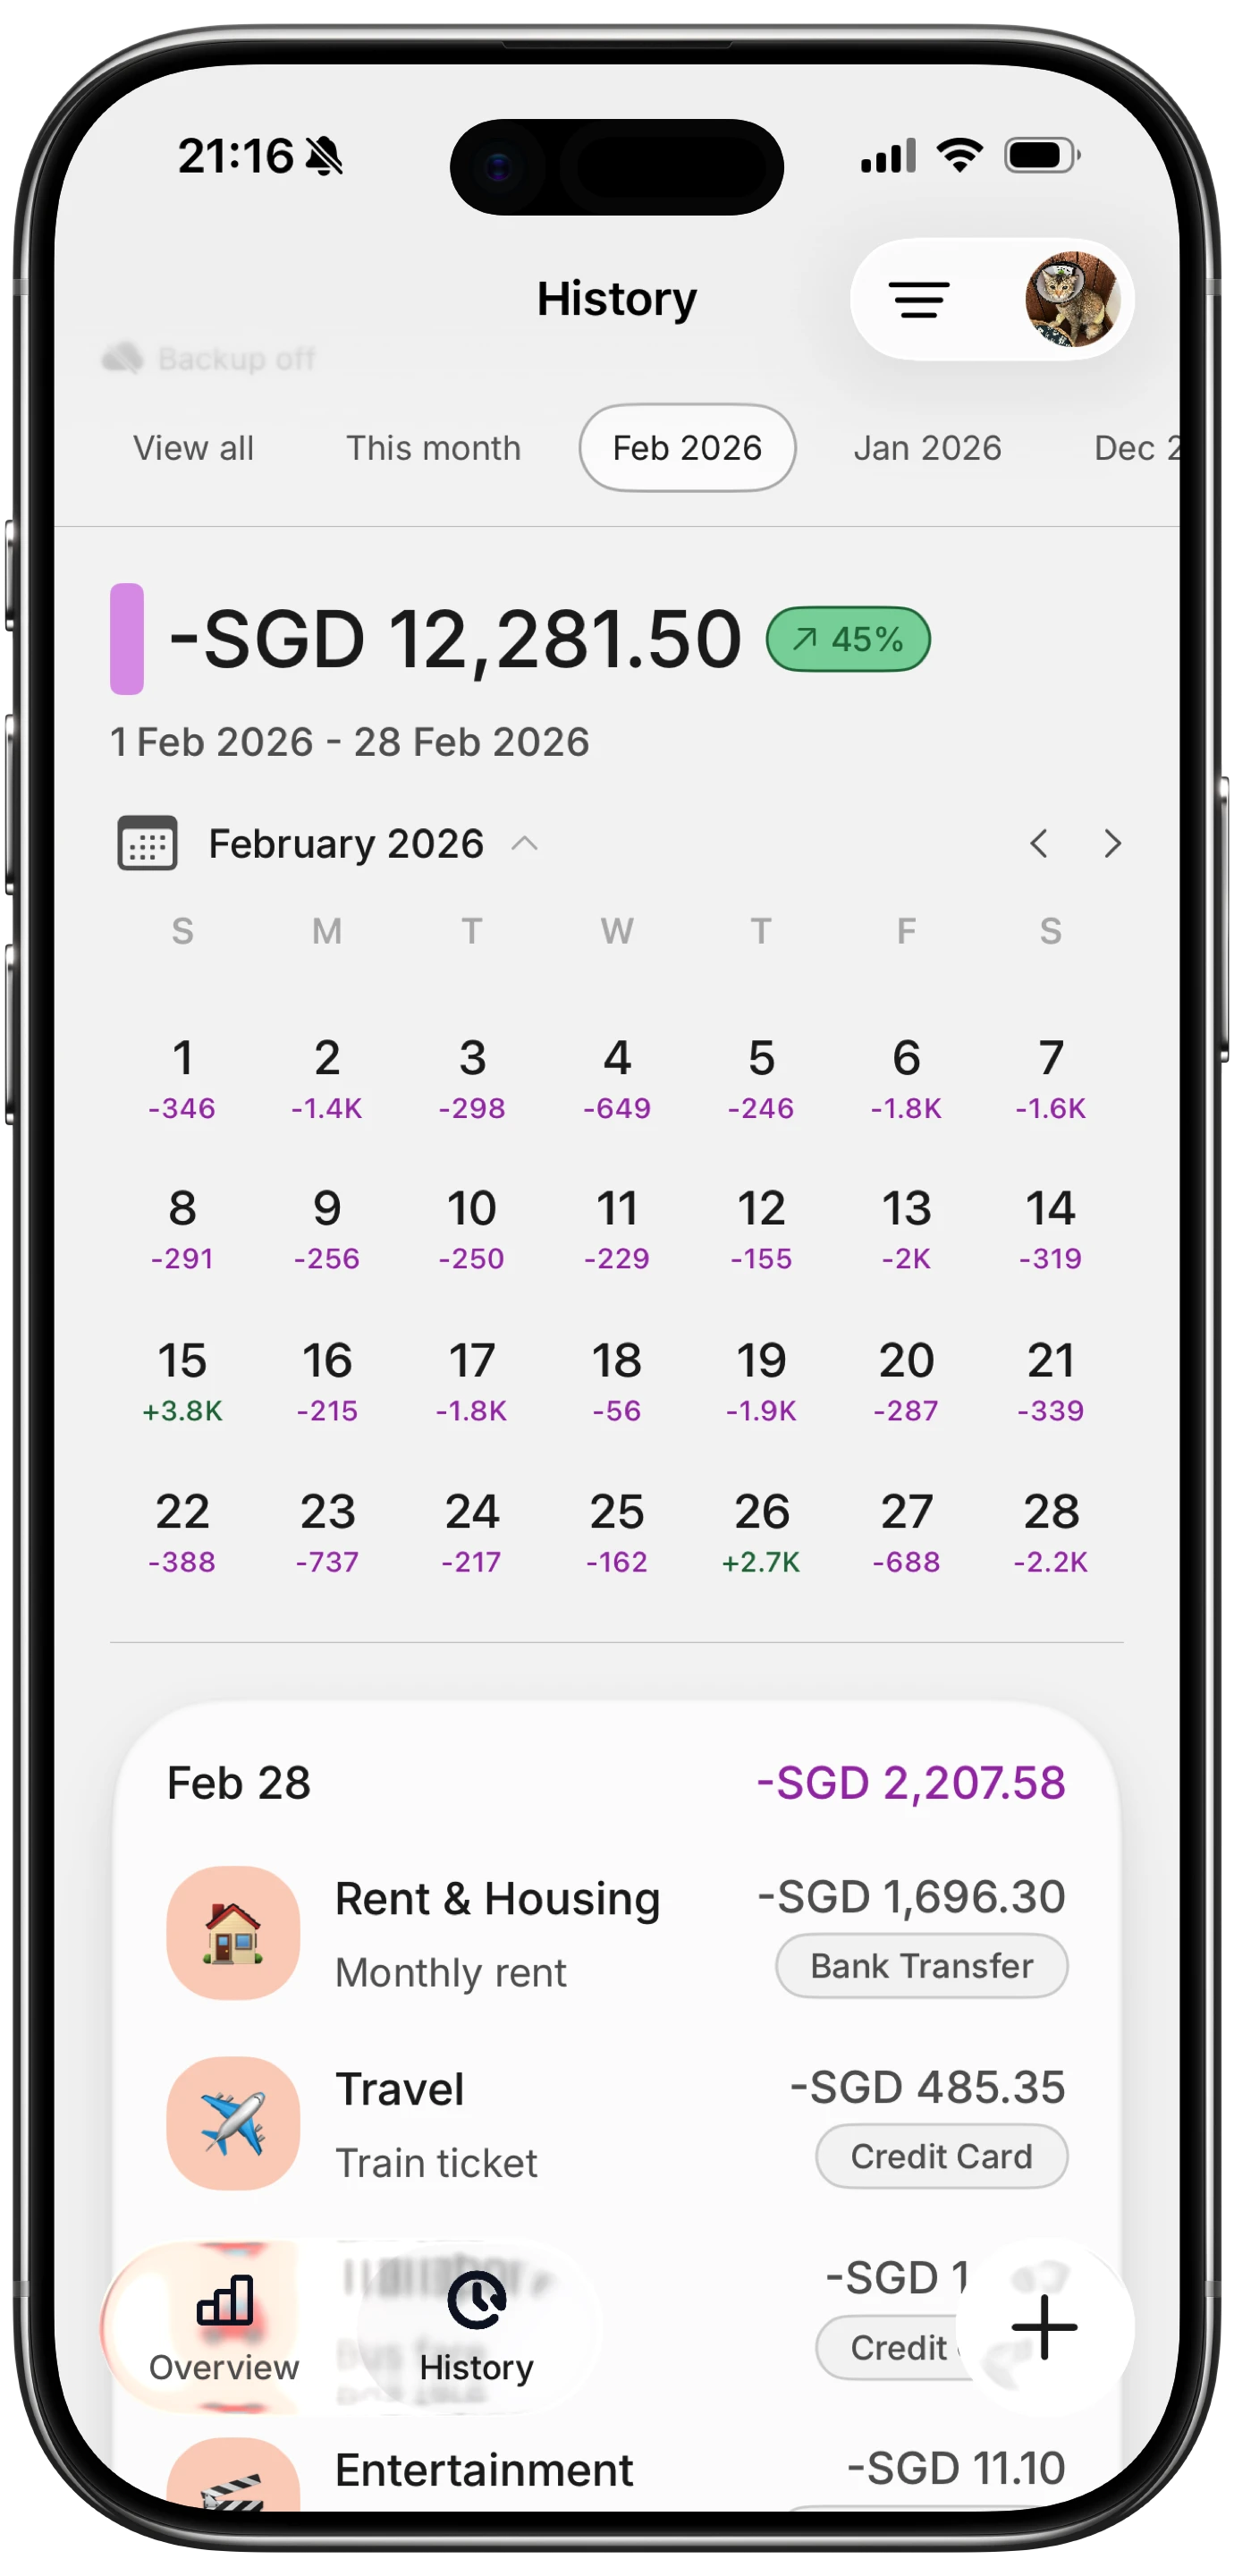
Finny app's History calendar feature
The Faster Option: Let It Total Itself
You can run this shortcut forever at no cost. If you would rather not maintain the sheet and its formulas, an app can carry that weight instead.
Finny takes the same two second entry and adds automatic categorization and live totals, so the moment you log a coffee it lands in the right category with your month to date already updated. It is free to start, needs no bank connection, and works offline. Download it from the App Store for the maintained version of what you just built.
The same approach works for other destinations too: see our guides for logging expenses to Google Sheets and adding expenses to Notion. If your workbook lives in Microsoft Excel, see our Excel expense shortcut guide.
Frequently Asked Questions
How do I add a row to Numbers with a shortcut?
Build your Numbers table first with a fixed column order, then in the Shortcuts app add an Add Row to Table action. Pick the spreadsheet, sheet, and table, and Shortcuts shows one field per column. Map your amount, category, and date variables to the matching columns. Running the shortcut then writes a new row to the bottom of the table.
Why does my Numbers shortcut put data in the wrong column?
Almost always because the table changed after you built the shortcut. Reordering columns, renaming the table, or moving the file leaves the Add Row to Table action unable to find its target. Open the shortcut, tap the action, and reselect the spreadsheet, sheet, table, and each column mapping. Locking your column order and file name prevents it recurring.
Can Siri log an expense into Numbers?
Yes. Once the shortcut exists, Siri can run it by name. Say "Hey Siri, Log to Numbers" and answer the amount and category prompts by voice. It is the fastest hands free way to record a purchase, and the row lands in your iCloud sheet exactly as a manual tap would.
Does the Numbers shortcut work offline?
Mostly. Because Numbers stores the file on your device, the shortcut can add the row with no connection. The change syncs to iCloud once you are back online, so it appears on your other devices later. That makes Numbers easier than a cloud only spreadsheet, which needs a live connection to write anything.
The Bottom Line
Numbers is the friendliest spreadsheet to automate: the Add Row to Table action does the hard part for you. Build the table with a fixed column order, wire up Ask for Input, Choose from Menu, and Current Date, map each variable, and test once. After that, a purchase takes two seconds to log by tap or voice.
If maintaining the sheet ever becomes a chore, hand that job to an app that keeps the same fast input but totals and categorizes for you. Either way, the goal is the same: record the expense before you forget it. For the full set of triggers, circle back to our Apple Shortcuts for expense tracking guide.