NFC Expense Tracker: Tap-a-Sticker Setup for iPhone (2026)
There is a satisfying trick hiding in every modern iPhone: stick a tiny programmable tag on your wallet, tap your phone to it, and log a purchase before you have even put your card away. No app hunting, no menus, just tap and type.
This guide shows you how to build an NFC expense tracker from scratch using an NFC sticker and the Shortcuts app. You will program a "log expense" shortcut, register a physical tag as a trigger, and make the tap instant. It costs about fifteen dollars in stickers, and we will be honest about where the DIY approach hits a wall.
For the wider menu of triggers, our Apple Shortcuts for expense tracking guide covers Siri, widgets, and Back Tap. This post goes deep on the tap-a-sticker route.
What an NFC Expense Tracker Actually Is
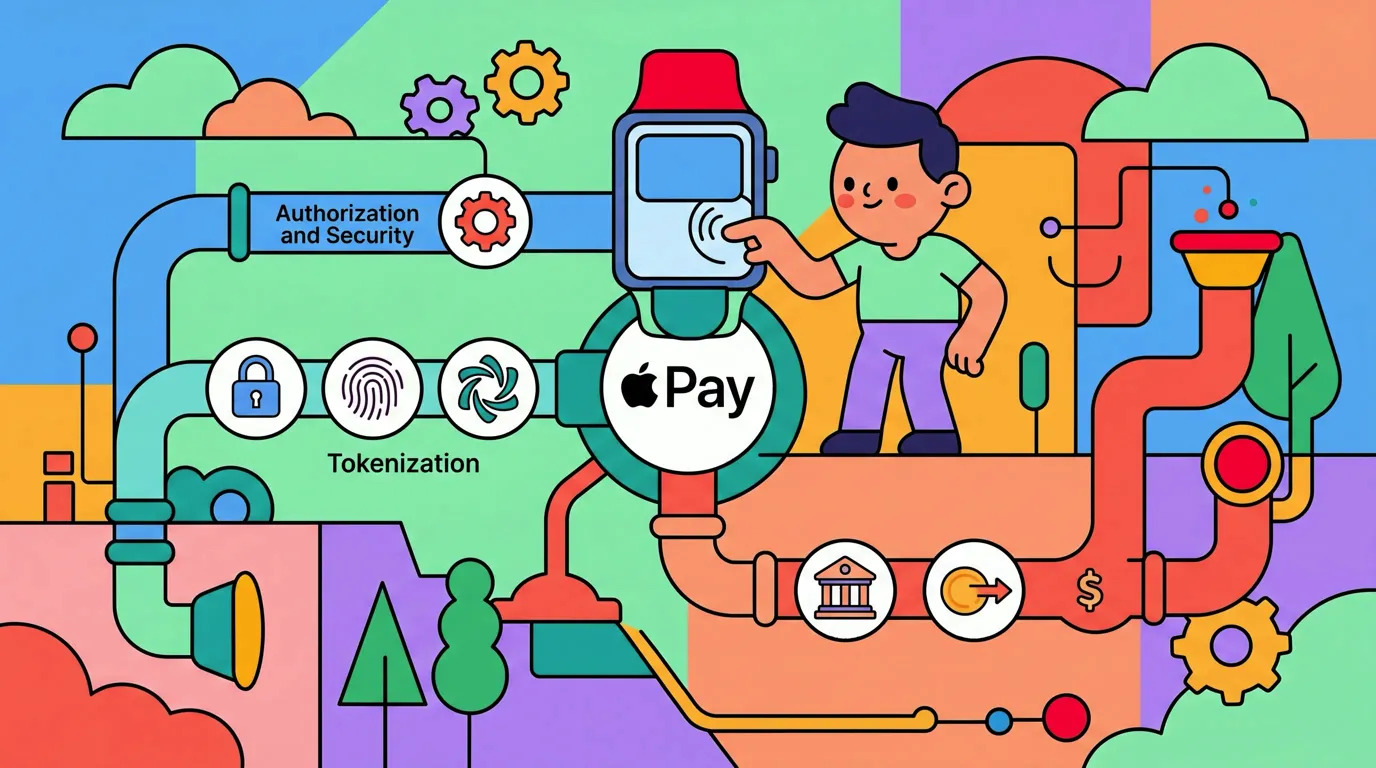
NFC is near-field communication, the short-range tech behind Apple Pay. An NFC sticker is a passive chip with no battery. When your iPhone comes within a couple of centimeters, it reads the tag and fires whatever action you assigned to it.
For expense tracking, you place a tag somewhere you will pass after spending, tap your phone to it, and a shortcut asks how much you spent and on what. The tag is just a trigger; all the logic lives in the shortcut you build.
What You Need Before You Start
- An iPhone with the Shortcuts app, preinstalled on every modern iPhone and free to reinstall. Recent iPhones read NFC tags in the background.
- A pack of programmable NFC stickers. Blank NTAG213 or NTAG215 tags are the common choice, and ten run about fifteen dollars.
- A destination for the data: a Numbers spreadsheet, an Apple Note, a Reminders list, or a finance app with Shortcut actions.
- About ten minutes.
You do not need a separate app to write the tags. iOS handles it through Shortcuts.
Step 1: Build the "Log Expense" Shortcut
- Open the Shortcuts app and tap the + in the top right to create a new shortcut.
- Add an amount prompt. Tap Add Action, search for Ask for Input, set the input type to Number, and set the prompt to "How much?".
-
Add a category prompt. Add a Choose from Menu action and list your usual categories: Food, Transport, Groceries, Fun, Bills. A fixed menu is faster than free typing.
-
Combine the pieces. Add a Text action and build one record, for example
[Provided Input] - [Menu Result] - [Current Date]. Insert the variables by tapping the chips in the keyboard row. -
Send it somewhere. Add the action that matches your destination: Add Row to Table for Numbers, Append to Note for Apple Notes, or a finance app's own log action.
-
Name and test it. Rename the shortcut "Log Expense", pick an icon, and run it once to confirm the entry lands where you expect.
Step 2: Register the NFC Tag as a Trigger
Now connect a physical sticker to the shortcut you just built.
- Tap the Automation tab at the bottom of the Shortcuts app.
-
Tap + or New Automation, scroll down, and choose NFC.
-
Tap Scan, then hold the top of your iPhone against the blank sticker until it registers. Name the tag something like "Wallet tag" so you remember which is which.
- Choose the Log Expense shortcut as the action this tag runs.
Tap the tag now and your amount prompt should appear.
Step 3: Turn Off "Ask Before Running"
By default, personal automations pause to confirm before they run, which adds a tap and kills the two-second goal. In the automation's settings, toggle Ask Before Running off and confirm. Now a tap jumps straight to the amount prompt.
One caveat: some iOS versions still show a brief banner for NFC automations even with this off. That is iOS behavior, not a mistake in your setup.
Step 4: Where to Stick the Tags
The tag only helps if you pass it after spending. Good spots:
- Back of your wallet or on a card. You reach for it when you pay, so tapping the phone to it afterward feels natural.
- Car dashboard. Perfect for logging fuel, drive-through, or parking before you pull away.
- Desk or kitchen counter. A landing spot for the day's small purchases when you get home.
Buy a pack and place three or four. The cheapest tag is the one you will actually tap.
Where the DIY NFC Tracker Starts to Hurt
A tap-a-sticker setup is genuinely good, and for many people it is enough. Be honest about the ceiling, though:
- You still tap manually. The tag does not know you paid. You have to remember to tap it after every purchase, and a forgotten tap is a missing entry.
- iOS may still confirm. As noted above, some versions add a banner that slows the "instant" tap.
- There is no categorization. The menu is manual, and a note or a sheet is just a pile of rows with no totals.
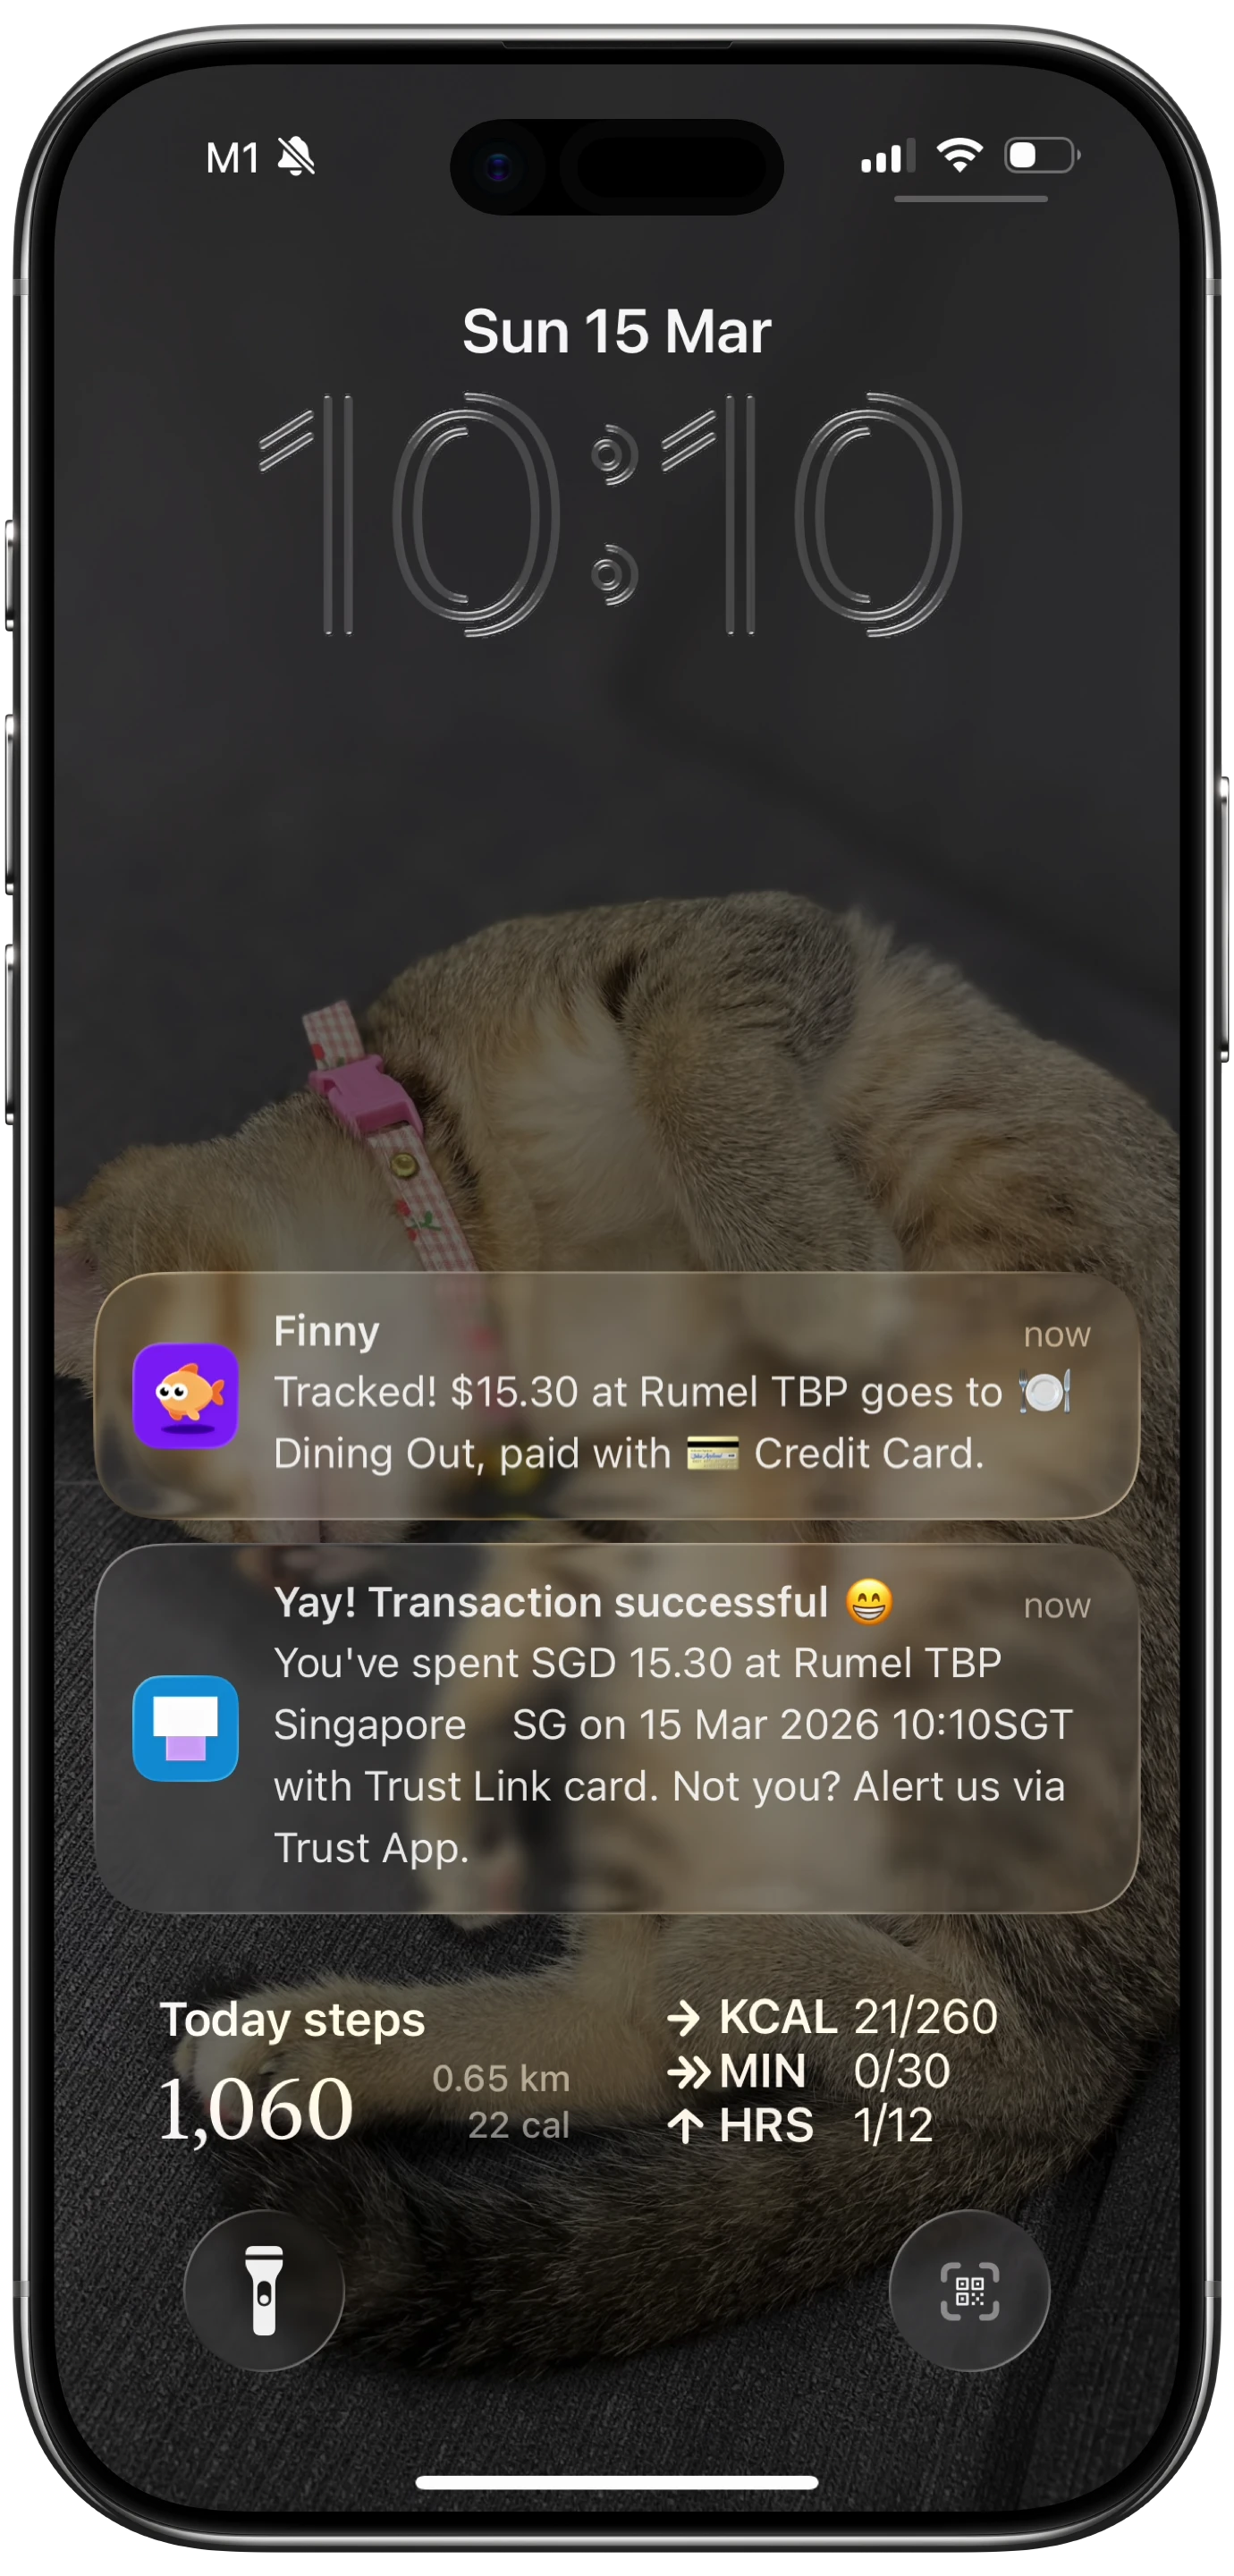
Finny app's Tap to Track feature
This is where the gap shows. Finny's Tap to Track fires at the moment of an Apple Pay payment rather than needing a separate tap on a sticker afterward, so the entry is created when you pay instead of when you remember. If you lean on Apple Pay, our Apple Pay expense tracking setup guide walks through it, and if a tap ever slips past, what to do about a missed tap covers the recovery.
The Faster Option: Let It Log Itself
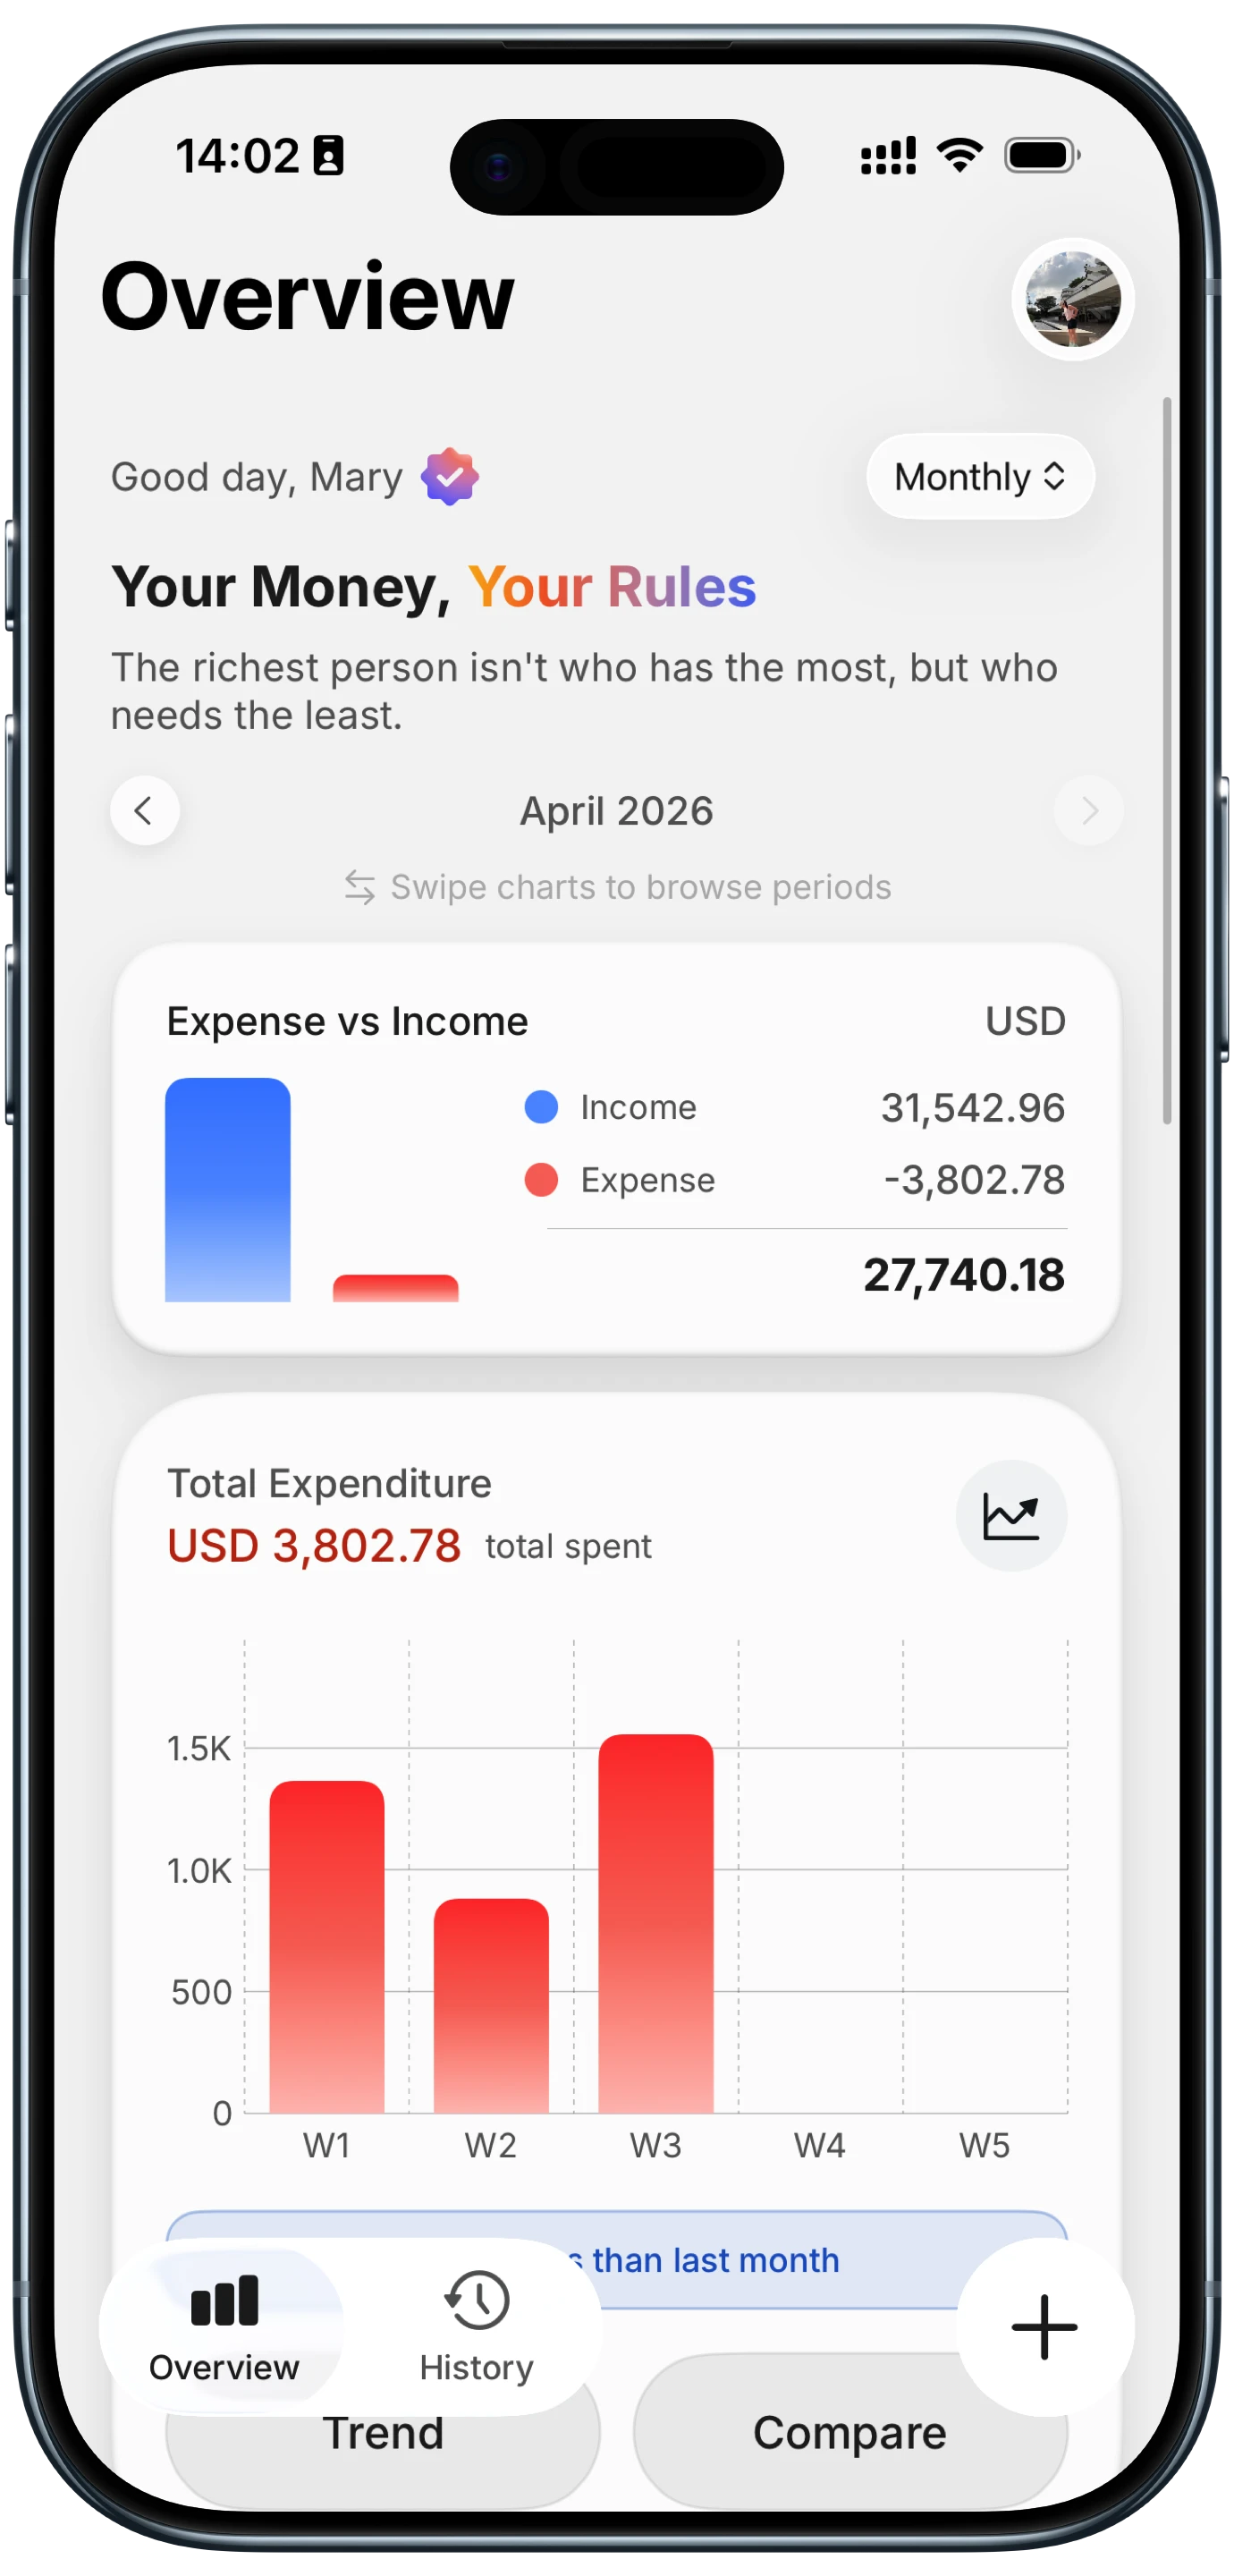
You can run the sticker setup above forever for almost nothing. If you would rather not think about tapping a tag after every purchase, install Finny from the App Store. Tap to Track catches Apple Pay purchases automatically, and AI categorization sorts each entry with a running total, so there is no menu to pick and no formula to maintain. It is free to start and needs no bank connection.
If you would rather stay hands-free without stickers, the Back Tap logging route pairs nicely, since a double tap on the back of the phone can fire the same shortcut. The manual route teaches you the plumbing; the automatic route means you never think about it again.
Frequently Asked Questions
What kind of NFC stickers should I buy?
Look for blank, programmable NFC stickers, usually labeled NTAG213 or NTAG215. Ten run about fifteen dollars. Avoid pre-encoded promotional tags, which may be locked. NTAG215 holds more data for reuse, but for a simple expense trigger the cheaper NTAG213 is plenty, since the tag only stores an identifier, not your data.
Why does my NFC automation still ask before running?
Personal automations that use NFC default to asking for confirmation, for safety. Open the automation in the Shortcuts app and switch off Ask Before Running to make the tap instant. On some iOS versions Apple still shows a brief banner for NFC triggers even with that off. That banner is an iOS behavior, not a flaw, and it does not stop the shortcut from running.
Can an NFC sticker log the expense automatically?
No. An NFC sticker is a passive trigger, so it only acts when you physically tap your phone to it. It cannot detect that you spent money on its own. Logging that happens at the moment of payment without a separate tap requires an app that hooks into Apple Pay, since the sticker cannot know a purchase occurred.
Is a tap-a-sticker tracker better than an app?
A sticker is great at capture speed once you remember to tap it, and costs almost nothing. An app is better at the work you would otherwise forget: firing on payment, categorizing automatically, and keeping totals. The strongest setup uses a fast trigger for capture and an app to organize it.
The Bottom Line
A tap-a-sticker NFC expense tracker turns a fifteen dollar pack of stickers into a two-second logging habit. Build the shortcut, register a tag under the Automation tab, turn off the confirmation, and place a few stickers where you will pass them. It is a cheap, satisfying way to close the gap between spending and recording.
Just remember its one real limit: it only works when you remember to tap. If that becomes a chore, hand the job to an app that logs the moment you pay and sorts the entries for you. For the full set of triggers and ideas, circle back to our Apple Shortcuts for expense tracking guide.