How to Scan Receipts With an Apple Shortcut (2026)
Paper receipts are where good intentions go to die. You mean to type in the total, so you tuck the slip in a pocket, and a week later it is a faded ball in the wash. The amount is gone, and so is any hope of matching it to your budget.
Your iPhone can read that receipt before it fades. In this tutorial you will scan receipts with an Apple Shortcut that snaps a photo, pulls the text with on-device OCR, grabs the total, and saves it wherever you keep your spending. No subscription, no cloud upload, and no typing. It fits neatly alongside the wider set of ideas in our Apple Shortcuts for expense tracking guide.
What This Shortcut Actually Does
The shortcut chains four small steps into one tap. It opens the camera or your photo library, runs Apple's built-in text recognition, finds the number that looks like a total, and writes that value to a destination you choose.
Everything happens on the device. Apple uses the same text recognition engine that powers Live Text, so no receipt image ever leaves your phone. That is good for privacy, and it means the shortcut still works on a plane or in a parking garage with no signal.
The catch, which we will be honest about later, is that "the number that looks like a total" is a guess. On a clean receipt it is a great guess. On a messy one it is a coin flip.
What You Need Before You Start
- An iPhone with the Shortcuts app (preinstalled on every modern iPhone, and free to reinstall if you deleted it). Apple's official guide is a good backstop if a step looks unfamiliar.
- iOS 16 or later, so the Extract Text from Image action is available.
- A destination for the data: a Numbers spreadsheet, an Apple Note, or a finance app that exposes Shortcut actions.
- About ten minutes and one receipt to test with.
How to Build the Receipt Scanner Step by Step
- Open the Shortcuts app and tap the + in the top right to start a new shortcut.
- Capture the receipt. Tap Add Action and search for Take Photo. This opens the camera when the shortcut runs. If you would rather scan slips you have already photographed, use Select Photos instead and let it pull from your library.
- Read the text off the image. Add a second action and search for Extract Text from Image. Set its input to the Photo (or Photos) variable from the step above. This is Apple's on-device OCR, and it returns everything printed on the receipt as plain text.
- Find the total. Add a Match Text action with the extracted text as its input. In the pattern field, enter a simple currency expression like
\$?\d+\.\d{2}, which matches any number with two decimal places, with or without a dollar sign. Match Text returns every price on the receipt, so add a Get Item from List action set to Last Item, since the total usually sits near the bottom.
- Confirm before you save. Regex on a receipt is a guess, so do not trust it blindly. Add an Ask for Input action that displays the matched amount and lets you correct it if the shortcut grabbed the wrong line. A two-second glance here prevents a month of bad data.
-
Save it. Add the action for your destination:
- Numbers: Add Row to Table, pointed at your expenses sheet. Our track expenses in Apple Numbers walkthrough covers the sheet setup in detail.
- Apple Notes: Append to Note.
- A finance app: its own "log expense" action, if it offers one.
-
Name and test it. Rename it "Scan Receipt", add it to your Home Screen, and run it once on a real receipt. If the right total lands in the right place, you are done.
Where DIY Receipt OCR Falls Short
Build this and you have a genuinely useful tool for clean, modern receipts. Run it for a week, though, and the ceiling shows up fast:
- The total is never in the same place. Some receipts print "TOTAL" at the bottom, some show the tip line last. Grabbing the last price works until a receipt lists the change given or a loyalty balance below the total, and your regex pockets the wrong number.
- There are no line items or merchant. The shortcut captures one amount. It has no idea what you bought, where, or which category it belongs to, so you still sort every entry by hand.
- Faded and crumpled receipts fail. OCR needs contrast. A thermal receipt that has spent a day in a warm pocket often reads as noise, and the match returns nothing.
- Batches are painful. One receipt at a time is fine. A shoebox of them at tax time is not what this shortcut was built for.
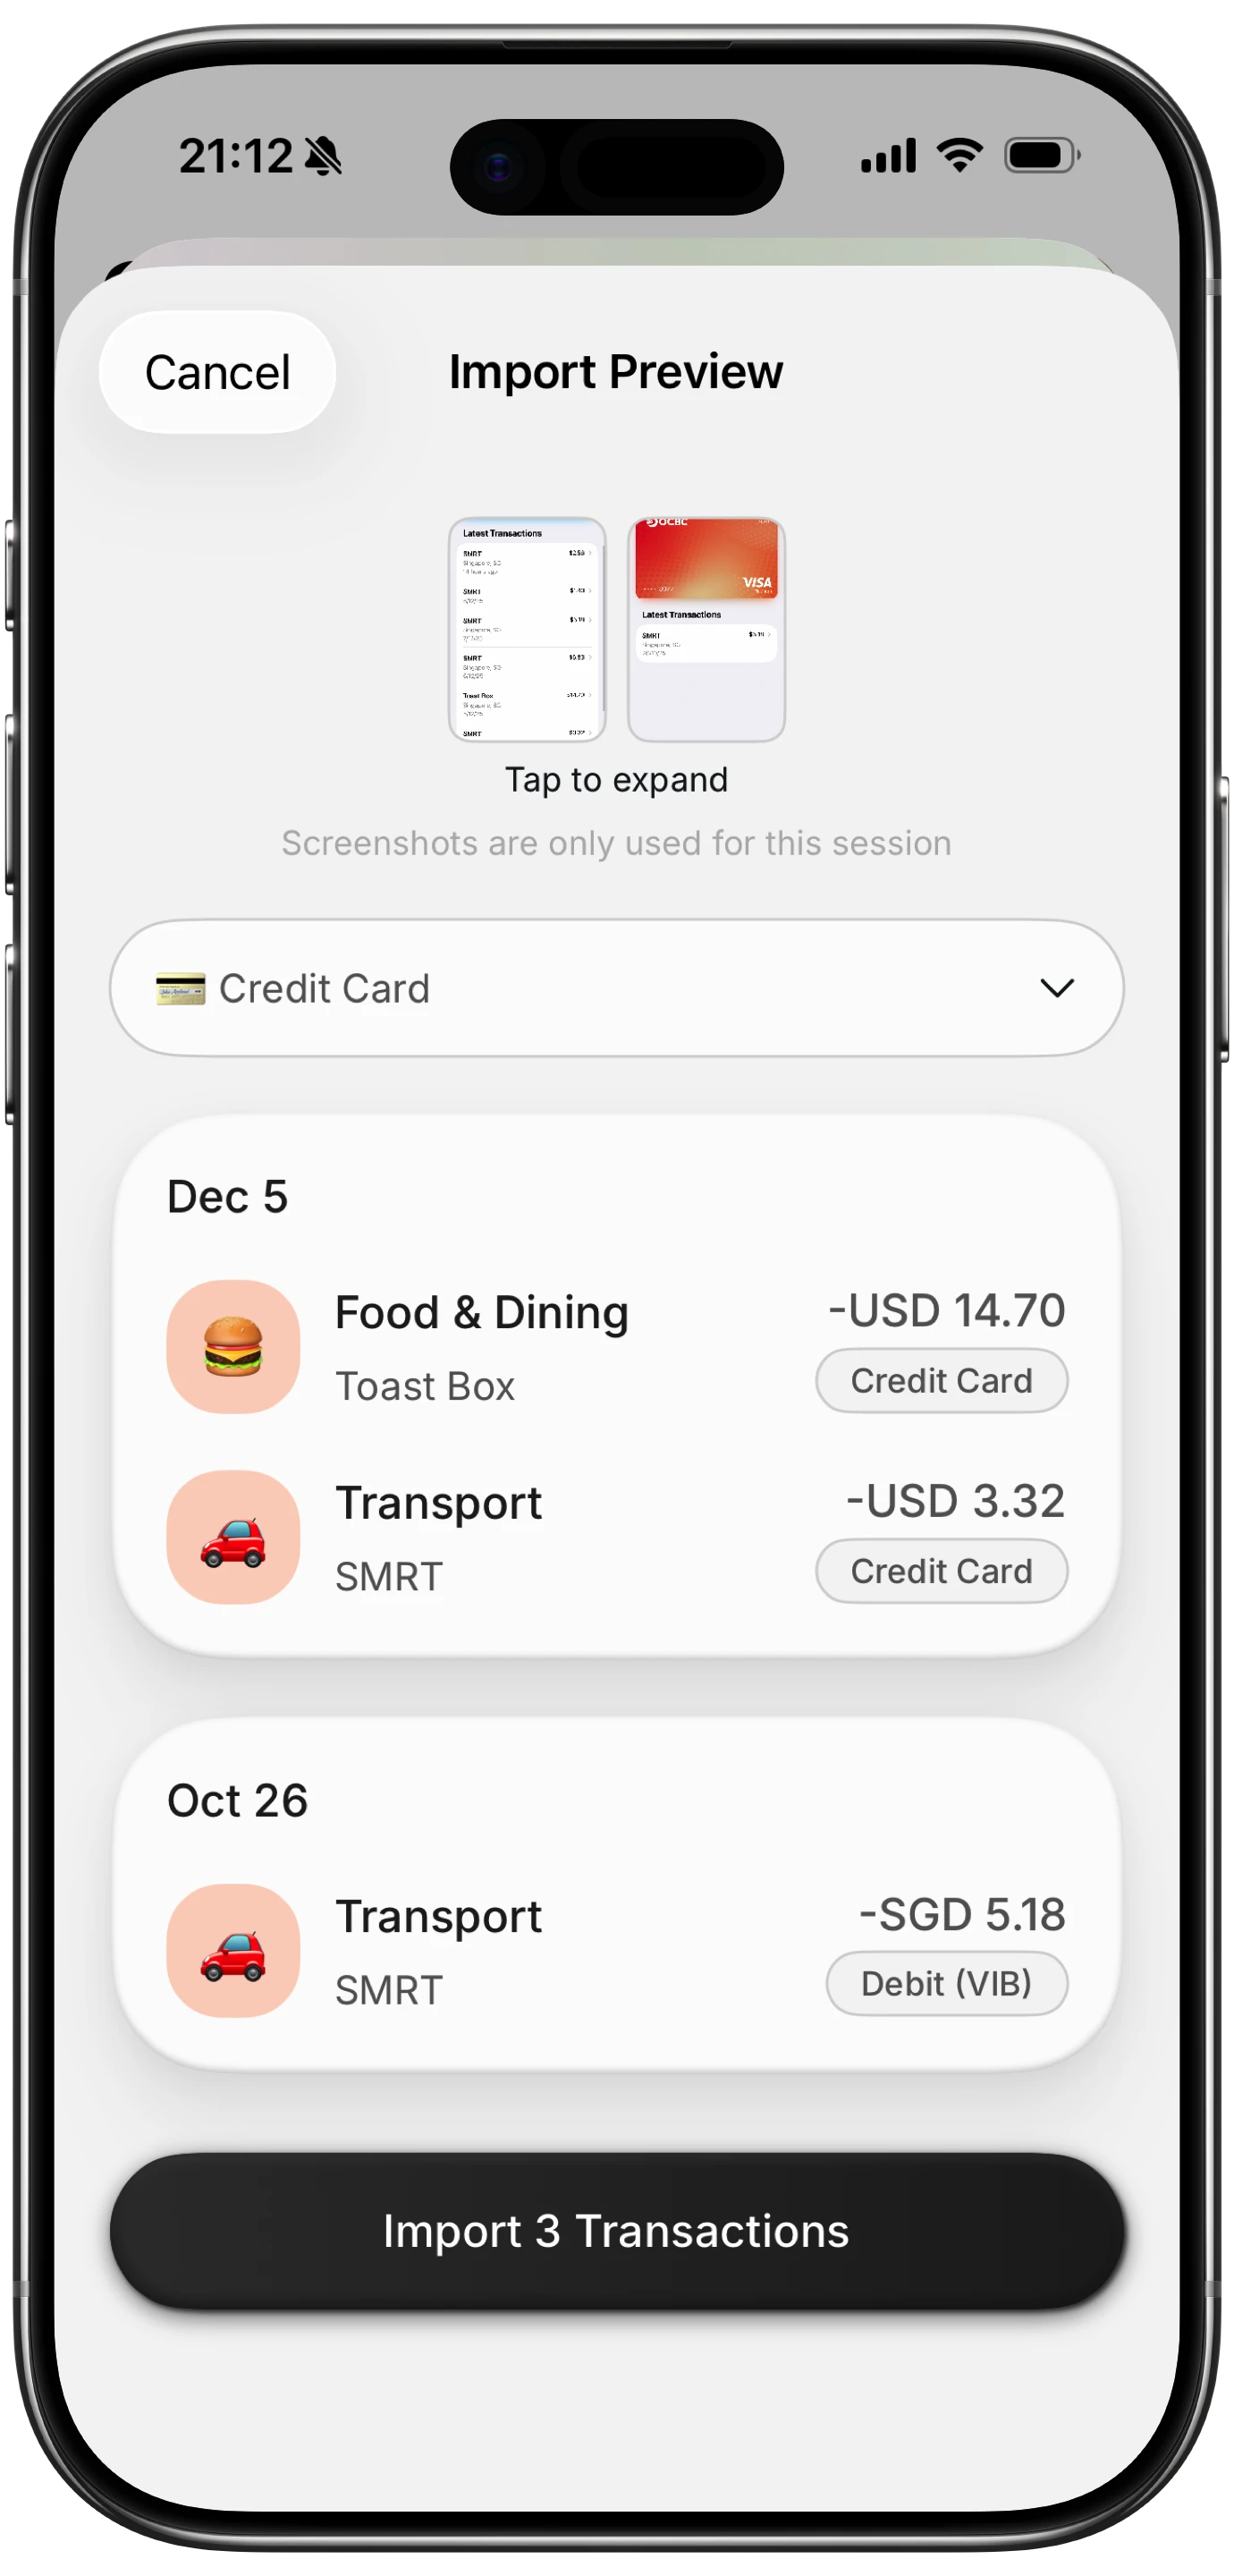
Finny app's screenshot import feature
This is the point where a purpose-built scanner earns its place. Finny reads a receipt photo and fills in the amount, the merchant, and a suggested category in one pass, then shows a confirmation screen before it saves, so a wrong guess is a quick tap to fix rather than a silent error. It can also take several receipts at once, which is the part a hand-built shortcut simply cannot do.
The Faster Option for Piles of Receipts
The shortcut above costs nothing and teaches you how iPhone OCR works, which is worth doing at least once. If you would rather not babysit a regex, an app that specializes in this saves the fiddly parts.
Finny scans a receipt, extracts the amount, merchant, and category together, and lets you confirm the result in a second, then repeat for the next slip. Install Finny from the App Store and the scanner is ready inside it, with nothing to download and re-download when it improves. To weigh it against other tools first, our roundups of the best receipt scanner apps for iPhone and the best iOS budget apps put the options side by side.
The manual route shows you what is happening under the hood. The app route turns a shoebox of receipts into a five-minute job. Either way, the win is the same: the amount is captured before the paper fades.
Frequently Asked Questions
How do I scan a receipt with Apple Shortcuts?
Create a new shortcut and add four actions in order: Take Photo to capture the receipt, Extract Text from Image to run on-device OCR, Match Text with a currency pattern like \$?\d+\.\d{2} to find the total, and a save action such as Add Row to Table or Append to Note. Add a confirmation step before saving so you can correct a wrong match, then test it on a real receipt.
Does receipt OCR in Shortcuts work offline?
Yes. The Extract Text from Image action uses Apple's on-device text recognition, so it needs no internet connection and no image ever leaves your phone. The only part that needs a connection is saving to a cloud service like Google Sheets. Writing to Notes or a local finance app works entirely offline, which is handy when you are traveling.
Why does my shortcut grab the wrong amount from a receipt?
Because the total is not always the last or largest number on the slip. Receipts often print change given, a tip line, or a loyalty balance below the total, and a simple pattern cannot tell those apart. That is why the confirmation step matters. For messy or inconsistent receipts, an app that understands receipt layout will land the right figure far more often than a hand-written regex can.
Can an Apple Shortcut read line items and the merchant name?
Not really. A basic shortcut pulls one value, usually a single amount, from the text it recognizes. It does not know the store name, the individual items, or the category of the purchase, and building that logic by hand quickly becomes unworkable. Dedicated receipt scanners parse the whole slip, so they can capture the merchant and suggest a category alongside the total in one step.
The Bottom Line
Your iPhone already has the OCR to read a receipt, and the Shortcuts app lets you point it at the total in about ten minutes. Build the scanner above, add a confirmation step, and you will catch amounts before the paper fades. When the pile grows or the receipts get messy, hand the job to an app that reads the whole slip and sorts it for you. For the full menu of capture ideas, head back to the Apple Shortcuts for expense tracking guide.