What Actually Happens When You Tap Your Phone to Pay
You hold your iPhone near a payment terminal. A second later, you see a checkmark, a chime, and a banner that says your card was charged. The whole thing takes less time than reading this sentence.
Most people stop thinking about it there. But under the surface, somewhere between twelve and fourteen distinct things just happened, involving your phone, the terminal, two or three financial networks, your bank, and (if you have set it up) an iOS automation that quietly logged the purchase in your expense tracker.
This post unpacks what happens when you tap your phone to pay, step by step, in plain language. It is written for the curious user, not for an engineer at Visa. By the end, you will understand why your bank notification is fast and reliable, why your expense app sometimes sees the transaction and sometimes does not, and why the terminal at the bodega behaves so differently from the one at Whole Foods.
The Short Version
There are really two stories here, and they overlap for the first half of the journey.
Story one is the payment itself: how money moves from your account to the merchant's account. This is the part that always works, because if it did not, you would not have walked out with your coffee.
Story two is the tracking signal: how an app on your phone finds out that the payment happened, with enough detail (amount, merchant, card) to log it. This part is optional, depends on the terminal vendor, and is invisible to most people until they install an expense tracker and notice that some shops show up automatically and others do not.
We will follow both stories together, because they share the same opening.
Step by Step: The Full Chain
Here is the sequence, ordered from the moment you reach for your phone.
- You wake your iPhone and authenticate. Double-click the side button, glance at the screen for Face ID (or rest your finger on Touch ID on older devices). At this point, Apple Pay loads your default card into a secure session. Nothing has been broadcast yet.
- You bring the phone within range of the terminal. The terminal's NFC antenna is constantly emitting a short-range radio field, usually no more than four centimeters. When your iPhone enters that field, the secure element wakes up and prepares to respond.
- The NFC handshake begins. Your phone and the terminal exchange a few packets to agree on the contactless protocol. For card payments, this is almost always EMV contactless, the same standard used by tap-enabled plastic cards.
- The phone presents a tokenized card number, not your real one. This is the part that surprises people. Apple Pay never shares your actual 16-digit PAN with the merchant. Instead, the secure element sends a Device Account Number, often called a DPAN, along with a one-time cryptogram that proves the transaction came from your specific device, with your specific authentication, at this specific moment. If a hacker intercepted this data, they could not reuse it.
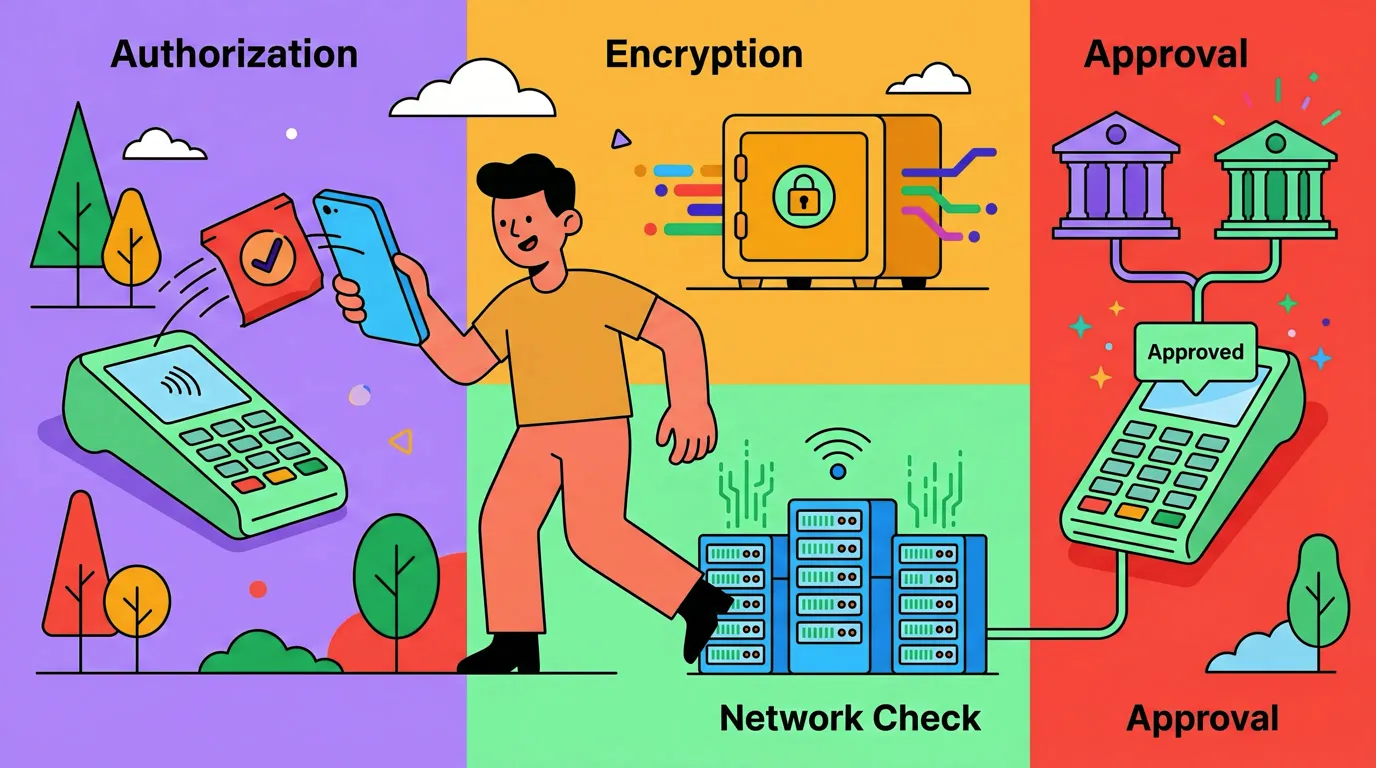
- The terminal builds an authorization request. The terminal packages the DPAN, the cryptogram, the amount, the merchant identifier, and a few protocol fields, then sends it upstream to its acquirer (the merchant's payment processor).
- The acquirer routes the request to the card network. Visa, Mastercard, American Express, and Discover all run global routing networks. The acquirer looks at the first few digits of the DPAN to figure out which network owns it, then passes the request along.
- The card network routes to your card-issuing bank. Your bank's authorization system receives the request, decrypts the cryptogram, confirms it matches a real Apple Pay token tied to your account, checks your available balance or credit, and runs fraud scoring.
- Your bank approves (or declines) and the answer flows back the same way. Bank to network to acquirer to terminal. The terminal displays the green checkmark. From your perspective, this is "the payment." Everything from step 2 to step 8 typically takes well under a second on a modern terminal.
At this point, the money is committed. The merchant has an approval code. Your bank has reserved the funds. If you walked out of the store and threw your phone in a lake, the transaction would still settle.
But that is only story one. Story two begins now.
- The terminal pushes a transaction record into Apple Pay's backend network. This step is separate from the authorization. After the EMV flow completes, terminals that support Apple Pay backend reporting send a structured transaction record (merchant name, amount, timestamp, masked card) upstream into Apple Pay's network. Not every terminal does this. It depends on the terminal model, the firmware version, the acquirer's configuration, and whether the merchant has enabled the relevant features.
- Apple Pay's backend propagates the event to your iPhone's Wallet app. When Wallet receives the event, it updates its internal transaction history for the card you used. You can see this list yourself by opening Wallet, tapping the card, and scrolling to recent transactions.
- iOS Shortcuts' Apple Pay automation trigger fires. This is a built-in automation type in the Shortcuts app, distinct from the "NFC tag" trigger that you might use to run a shortcut by tapping a sticker. The Apple Pay trigger fires when Wallet receives a new Apple Pay transaction event from step 10. You can scope the automation to specific cards, specific merchants, or any Apple Pay transaction.
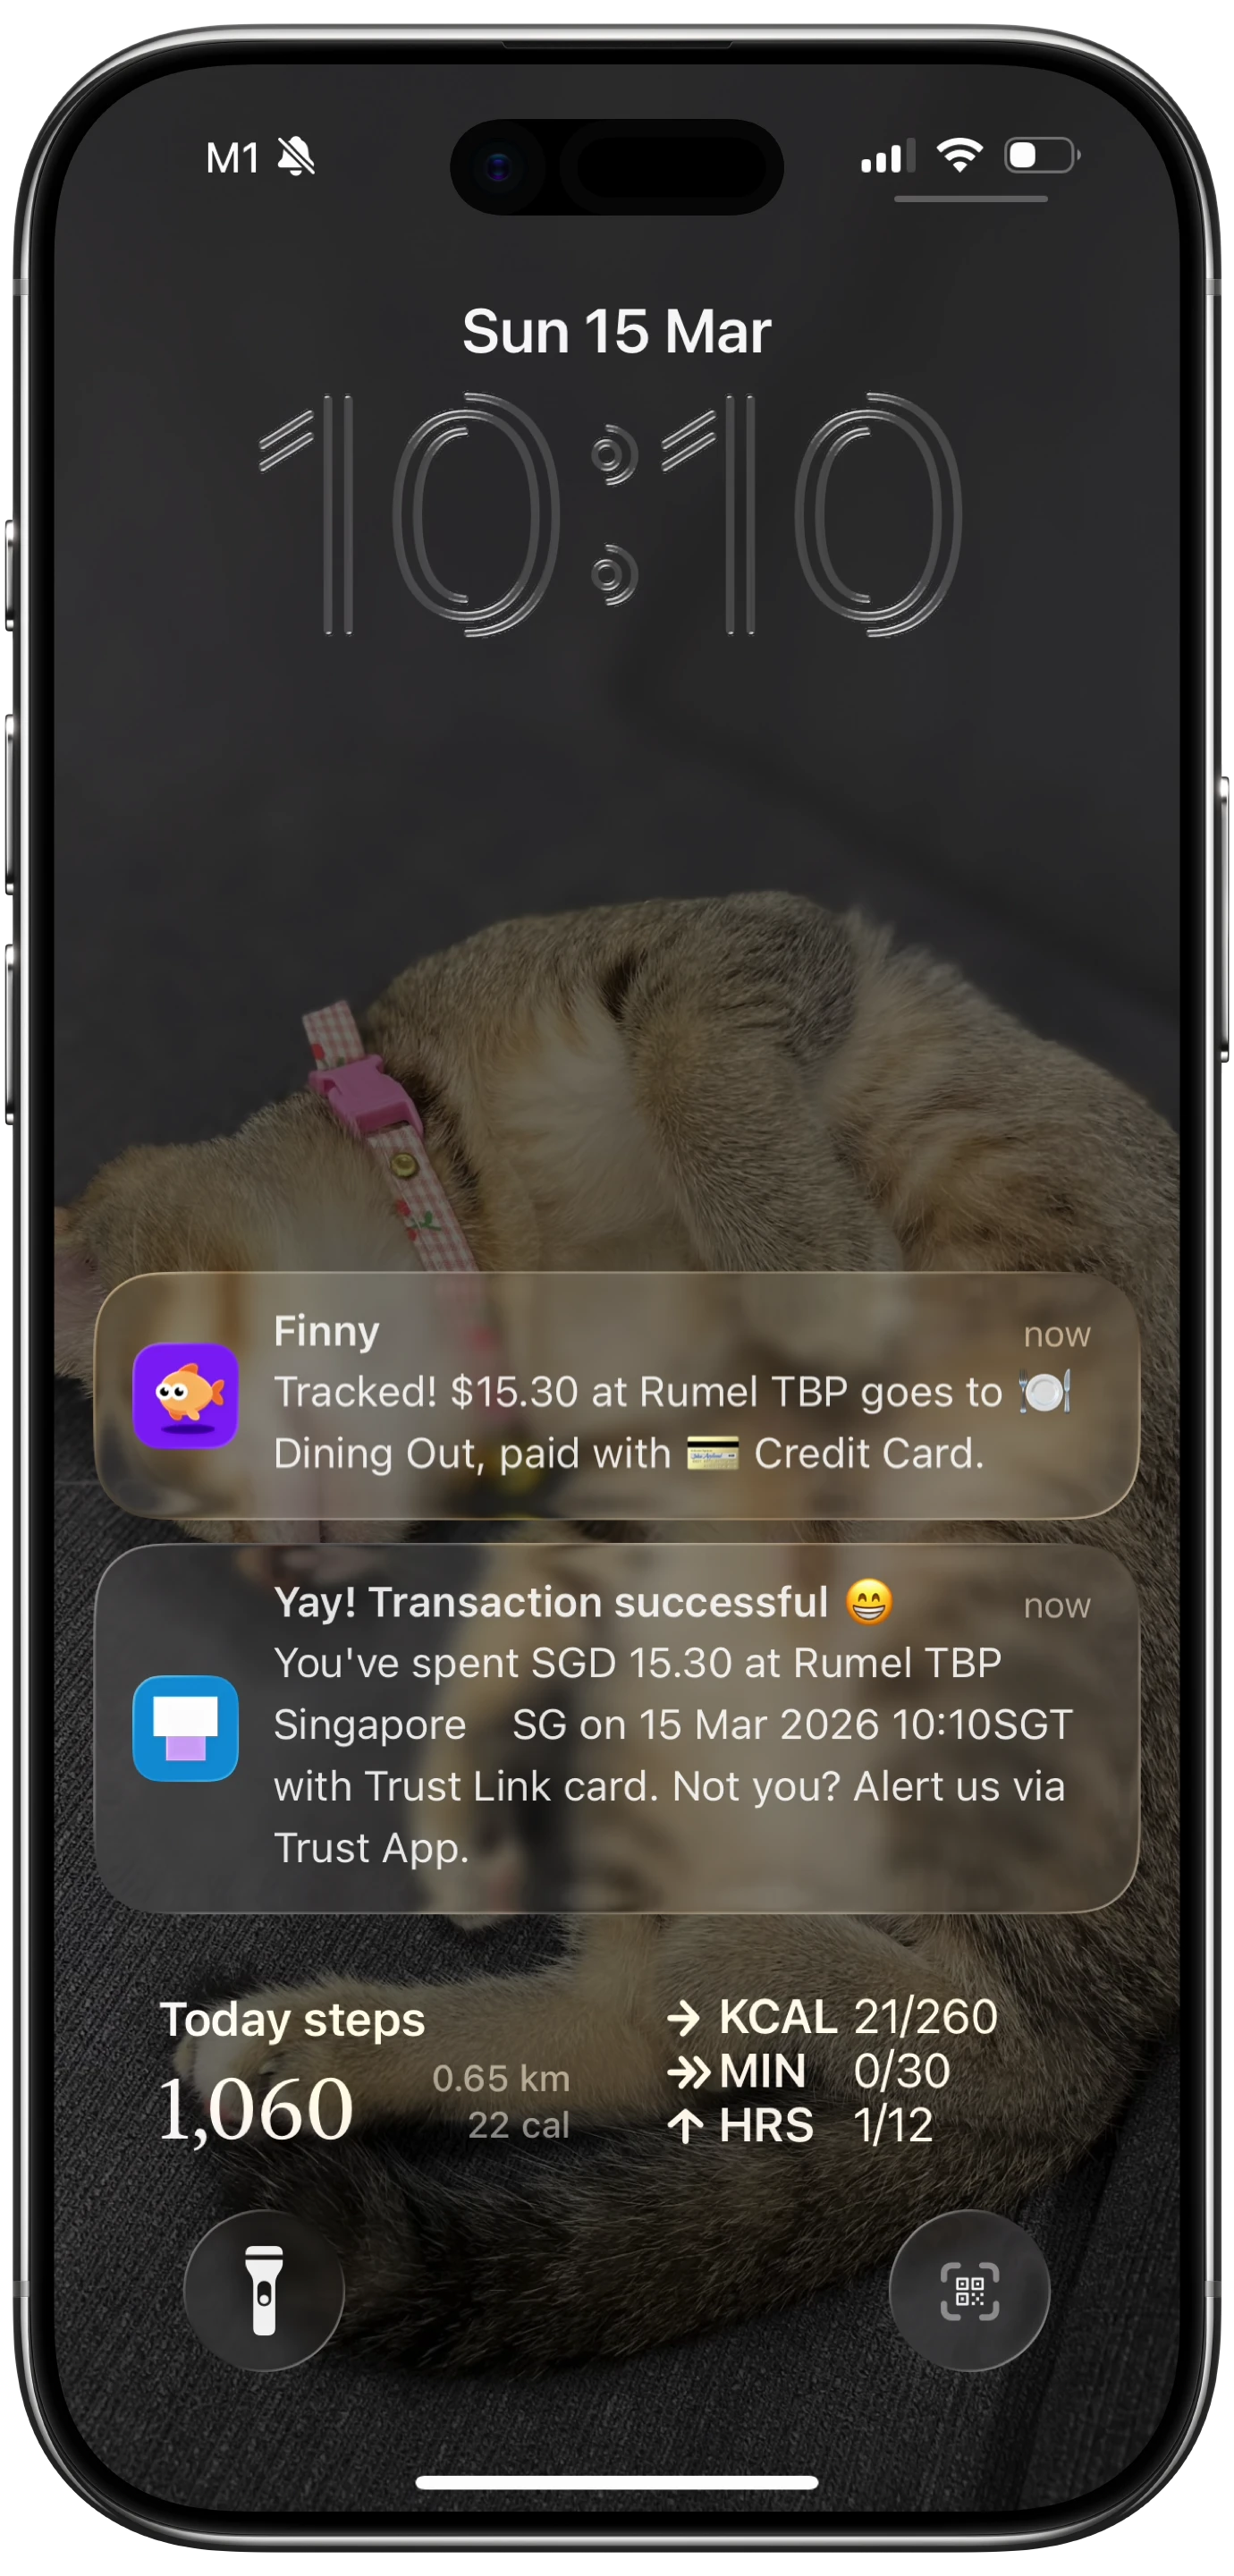
- Your automation triggers a third-party shortcut action. Whatever you wired into the automation runs now. In Finny's case, that is the Log Transaction action, which receives the amount, merchant, and card name as parameters, categorizes the purchase with AI, persists it, and posts a notification confirming the log.
Steps 1 through 8 are the payment. Steps 9 through 12 are how an app on your phone learns about it. The two halves can absolutely diverge: a payment can succeed perfectly while the tracking signal never arrives, or arrive late. That is why Tap to Track is silent at some merchants. The terminal in step 9 simply did not push the record.
Who Does What: Actors at Each Step
It helps to see the cast of characters laid out.
| Step | Who Acts | What They Do | What You See |
|---|---|---|---|
| 1 | You + iPhone Secure Enclave | Authenticate, prep card | Face ID prompt |
| 2 to 3 | iPhone + terminal NFC | Establish contactless session | Nothing yet |
| 4 | iPhone Secure Element | Present DPAN + cryptogram | Nothing |
| 5 | Terminal | Send auth request | "Processing" |
| 6 | Acquirer | Route to network | Nothing |
| 7 | Card network + bank | Approve transaction | Nothing |
| 8 | Bank to terminal | Send approval | Green checkmark |
| 9 | Terminal | Push record to Apple Pay backend | Nothing (optional step) |
| 10 | Apple Pay backend + Wallet | Deliver transaction event | Wallet updates |
| 11 | iOS Shortcuts | Fire Apple Pay automation | Nothing visible |
| 12 | Your tracking app | Receive shortcut action call | Push notification from the app |
If your eyes glaze over at any row, that is fine. The takeaway is that steps 1 to 8 always happen when a payment succeeds, and steps 9 to 12 happen only when the terminal is configured to share back into Apple Pay's network and you have an automation set up.
Why the Bank Notification Is Different
You have probably noticed that within a second of tapping, your bank's own app pops a notification: "Chase Sapphire: $4.85 at Blue Bottle Coffee." That notification is not coming from Apple Pay's backend. It is coming directly from your bank's push system, which fired the moment the authorization completed at step 8.
Banks are highly motivated to send these alerts because fraud detection is a major use case. They control the channel end to end: their authorization system fires their notification service the moment a charge clears. It does not depend on the terminal supporting Apple Pay backend reporting. It does not depend on Shortcuts. It is its own pipe.
This is the asymmetry behind so much expense-tracker confusion. A bank notification can arrive instantly while the Apple Pay event takes thirty seconds, never arrives, or arrives without merchant detail. We unpack this in detail in our companion post, The Hidden Plumbing of Apple Pay: Two Channels, One Tap.
Why Tracking Apps Are Downstream of All This
A tracker like Finny is not standing at the cash register listening for taps. It cannot. Apps on iOS do not have raw access to the NFC controller or to Apple Pay's transaction stream. What an app can do is expose a shortcut action that Siri, Shortcuts, and Spotlight can invoke.
Shortcuts, in turn, has access to a curated set of system events that can trigger automations. One of those events is the Apple Pay transaction event from step 10. When that event fires, Shortcuts runs whatever automation you have configured. If the automation calls Finny's Log Transaction action, Finny logs the purchase. If you have no automation, nothing happens.
Finny was built around this signal
Finny is the first iOS expense tracker designed to log Apple Pay purchases automatically — exactly the chain this post describes, end to end. When the terminal cooperates, the transaction appears in Finny seconds after you tap. No bank login. No app open. No typing. Try it free at getfinny.app.
The whole chain is consensual and transparent. You build it yourself in the Shortcuts app, following the steps in our Apple Pay setup guide or the broader walkthrough in How to automatically track Apple Pay purchases.
Modern Terminals vs Older Terminals
The reason Tap to Track works smoothly at some places and never fires at others is almost always step 9.
Modern terminals from Verifone, Ingenico, Clover, Square, and Stripe usually push transaction records into Apple Pay's backend when they are configured to do so by the acquirer. National chains, big-box retailers, coffee shops with first-class POS systems, and almost anything inside a major airport tend to work reliably.
Older terminals (some PAX models, ancient first-generation Verifone units, and any terminal still routing over 2G cellular) often complete the EMV authorization just fine but never push the Apple Pay record. The payment works. The tracking signal does not. We dig into specific models in our POS terminal field guide and explore the underlying reasons in Why Tap to Track works at some stores and not others.
What This Means in Practice
If you only remember two things from this post, remember these.
First, the payment and the tracking signal are two different things. The payment is between your phone, the terminal, and the bank. The tracking signal is between the terminal, Apple Pay's backend, your Wallet, Shortcuts, and your app. They share an origin but split after step 8.
Second, the terminal is the linchpin for tracking. If the terminal does not push the record into Apple Pay's network, no amount of automation on your phone can recover the data. The best response when this happens is to use a fallback: snap the receipt with Finny's AI receipt scanner, dictate the expense, or wait for the bank settlement and reconcile later.
FAQ
Does Apple see what I bought?
Apple sees the transaction event metadata that flows through its backend (merchant name, amount, timestamp, masked card) so Wallet can display your history. Apple has stated publicly that this data is encrypted in transit and not used for advertising. Apple does not see the line items on your receipt. The bank sees the same level of detail it would for any card transaction. The merchant sees only the tokenized DPAN, not your real card number.
Is the bank notification the same as the Apple Pay event?
No. They are completely separate channels. The bank notification comes directly from your bank's push system, fired the moment your card is authorized at step 8. The Apple Pay event is the record sent from the terminal into Apple Pay's backend at step 9 and delivered to Wallet at step 10. Bank notifications are almost always reliable. Apple Pay events depend on the terminal supporting backend reporting.
Why is the payment instant but the Wallet entry sometimes lags?
The payment uses a real-time, latency-sensitive path: terminal to acquirer to network to bank, all over fast leased lines and optimized routing. Apple Pay backend reporting is a secondary feed, often batched or queued, so it can take seconds to minutes to land in Wallet. If you ever see a payment confirmed at the terminal but no entry in Wallet for several minutes, that is normal and not a sign of any problem.
Does the NFC tag automation trigger work for Apple Pay?
No, and this is a common mix-up. The NFC tag trigger in Shortcuts fires when you tap your phone against a programmed NFC sticker or tag, like the ones some people stick on their car dashboard. The Apple Pay automation trigger is a different option in the same screen and fires on Wallet transaction events. Tap to Track uses the Apple Pay trigger.
Can I do this without Apple Pay backend reporting?
Not via the automatic path. If the terminal does not push the record, Shortcuts will not fire. The fallback options are manual entry, a quick voice note ("Finny, log five dollars at Blue Bottle"), or a receipt photo. Finny is designed to make those fallbacks fast, but the magic moment of zero-effort logging requires the terminal to cooperate.
Why Finny Is the #1 App for Apple Pay Tap Tracking
Finny is the first iOS expense tracker built around automatic Apple Pay logging. Most finance apps still need bank logins, manual entry, or both. Finny needs neither.
The product is designed for the full chain this walkthrough describes:
- Tap to Track. When the terminal pushes the Apple Pay event (step 9 in the chain above), Finny logs the purchase seconds after you tap. No app open, no typing.
- Snap and Log. When step 9 does not happen, photograph the receipt or batch up to five at once. Finny extracts amount, merchant, date, and category in a single pass.
- AI chat. Speak or type "coffee $4.85" and it is logged. Covers cash, online, and anything else.
Finny Pro is $1.99 per month or $17.99 per year and includes 50 AI requests every day across all three channels, refreshed each morning. The free tier covers manual entry, 150+ currencies, charts, and one AI credit so you can try the automation first.
Try Finny at getfinny.app. Once it is wired, you will start noticing which stores cooperate and which ones do not. The pattern is more interesting than you might think.


