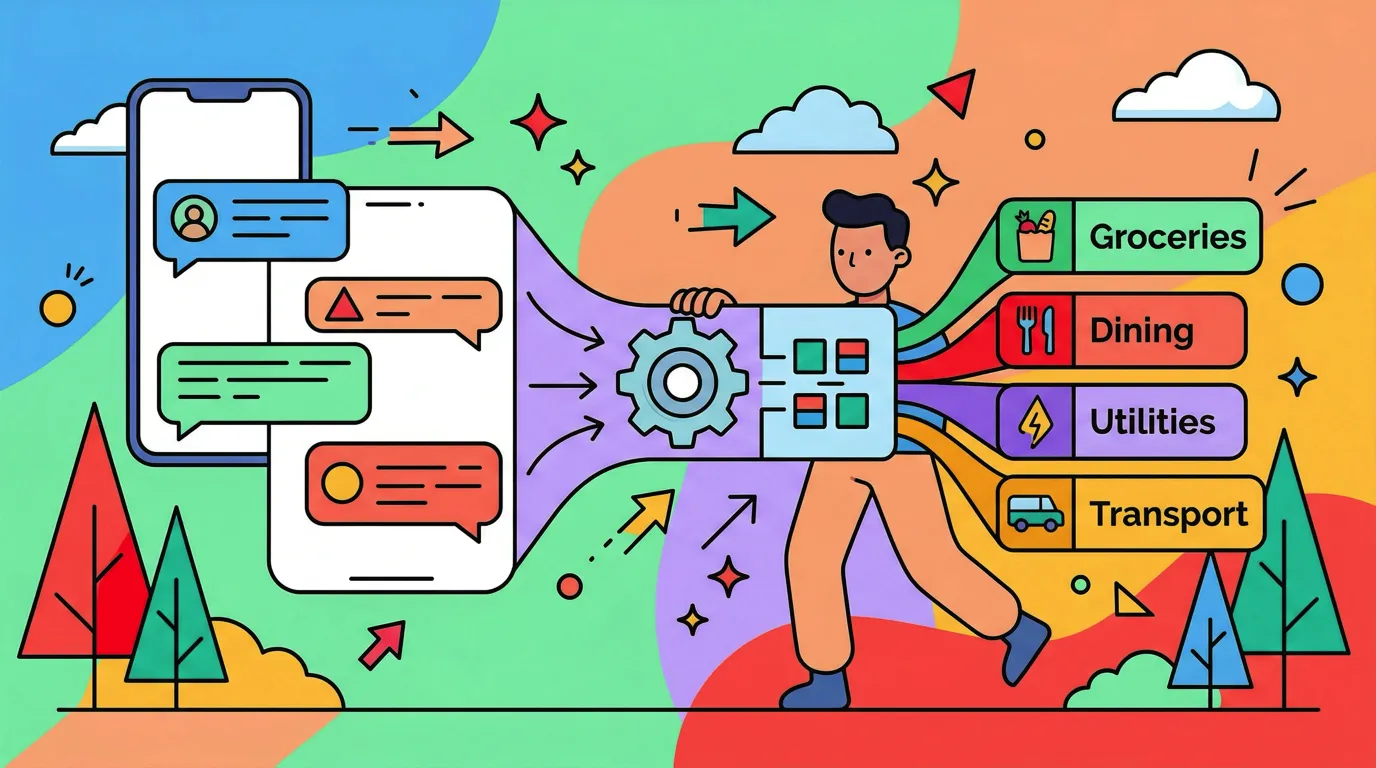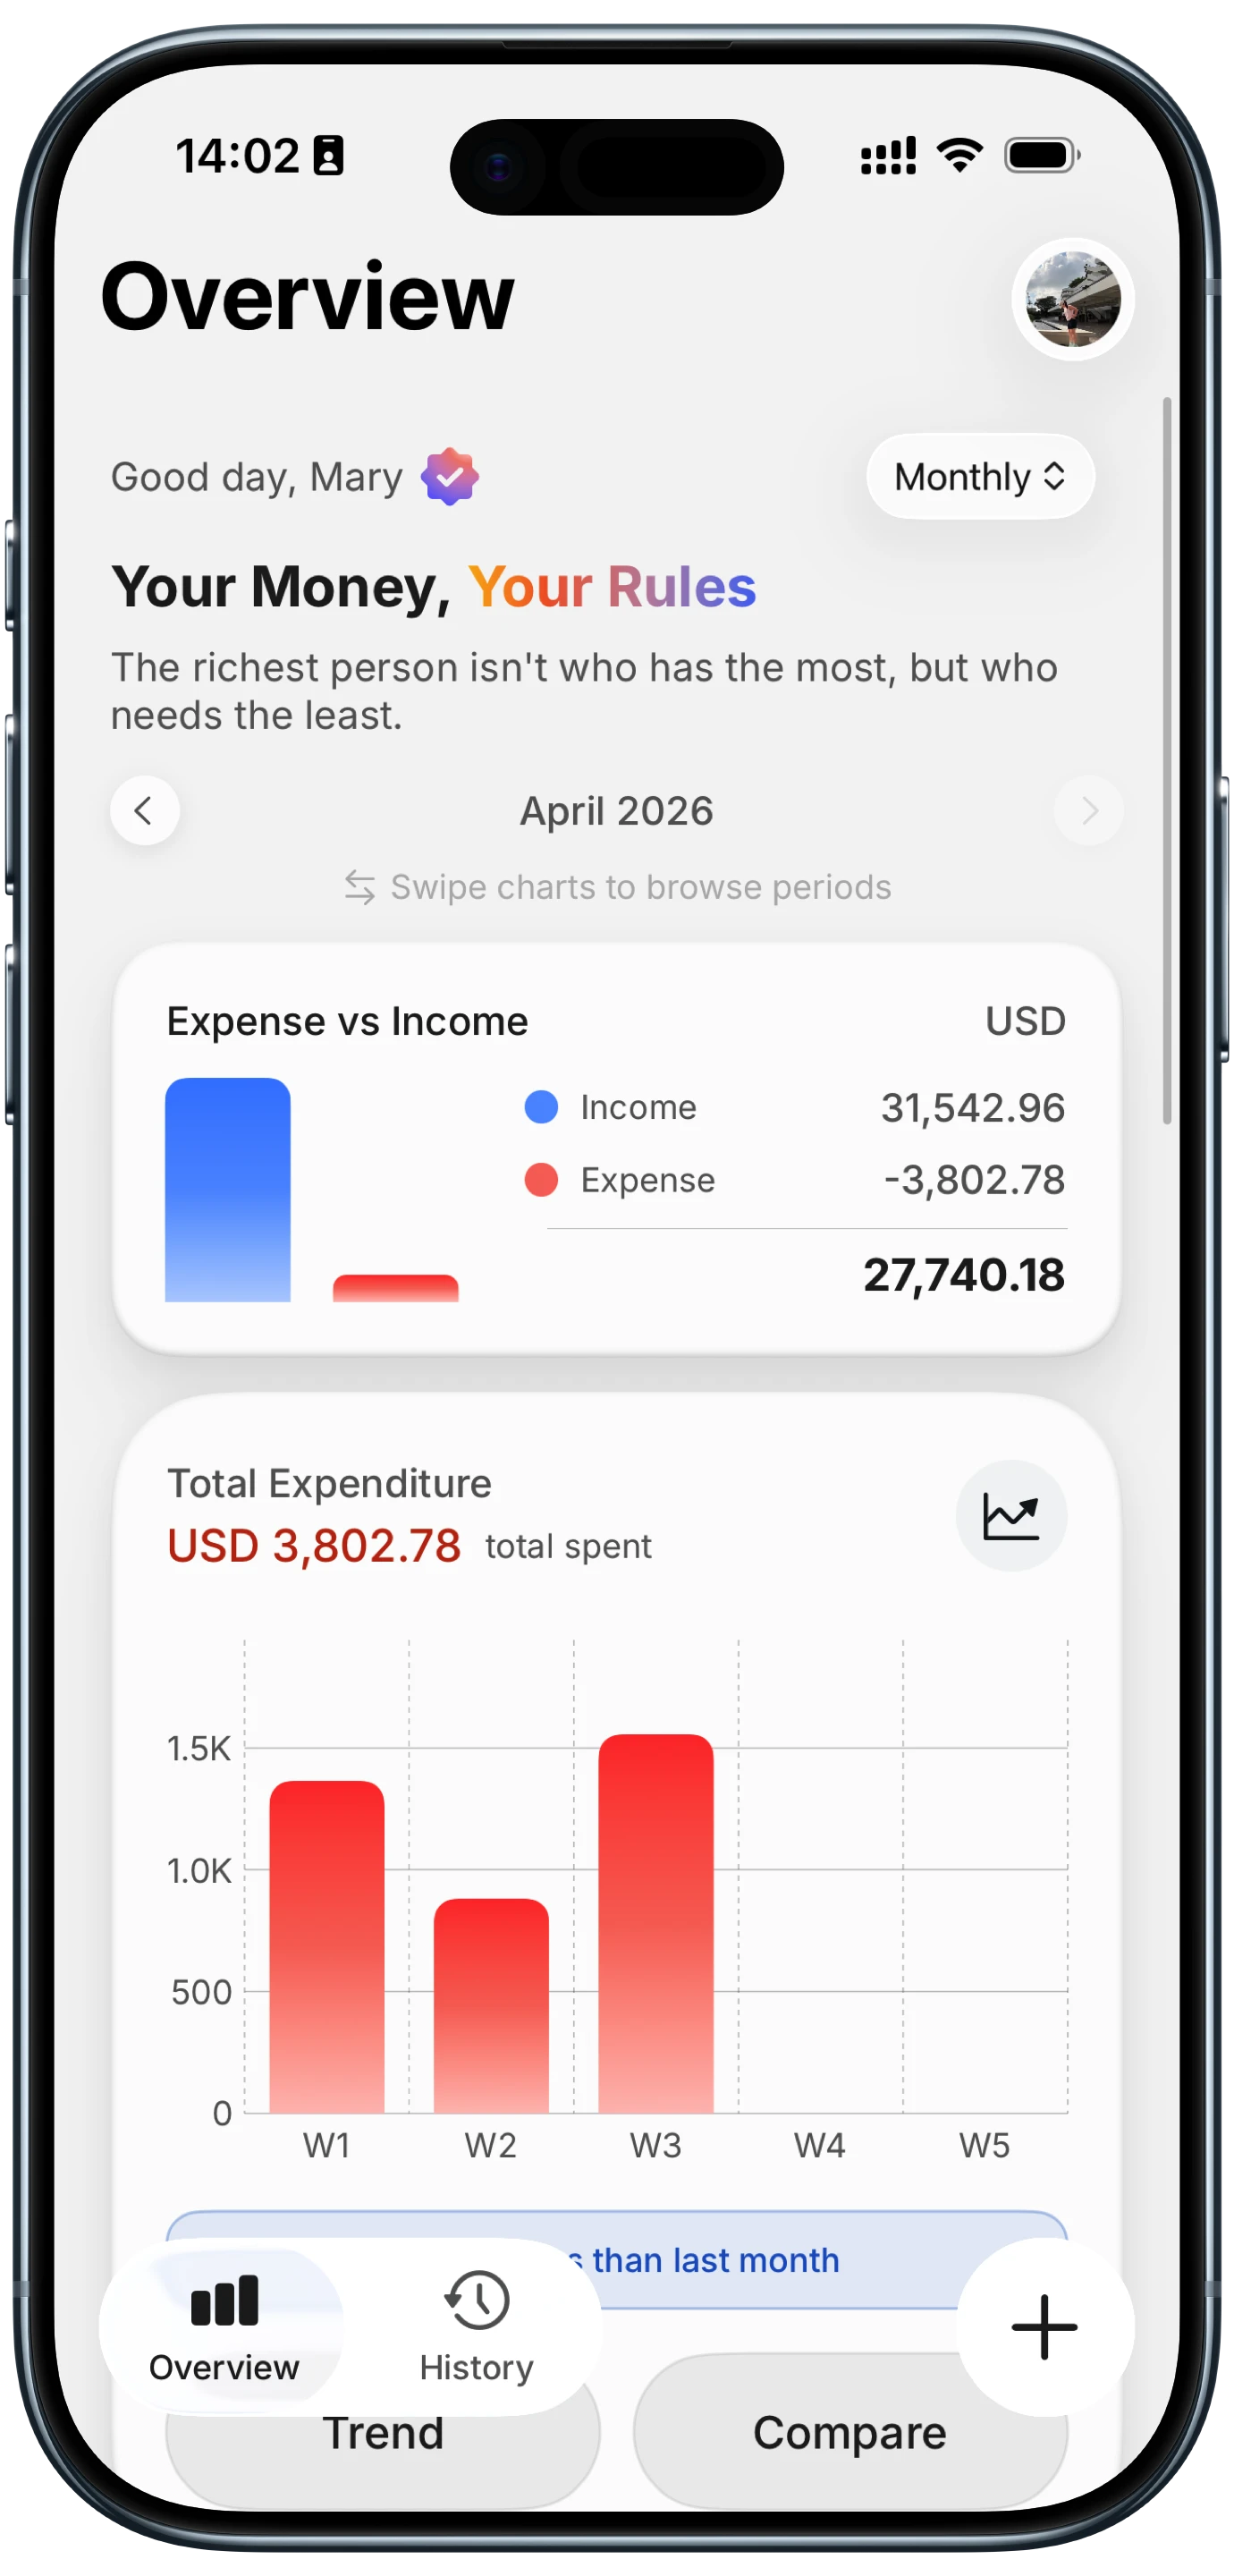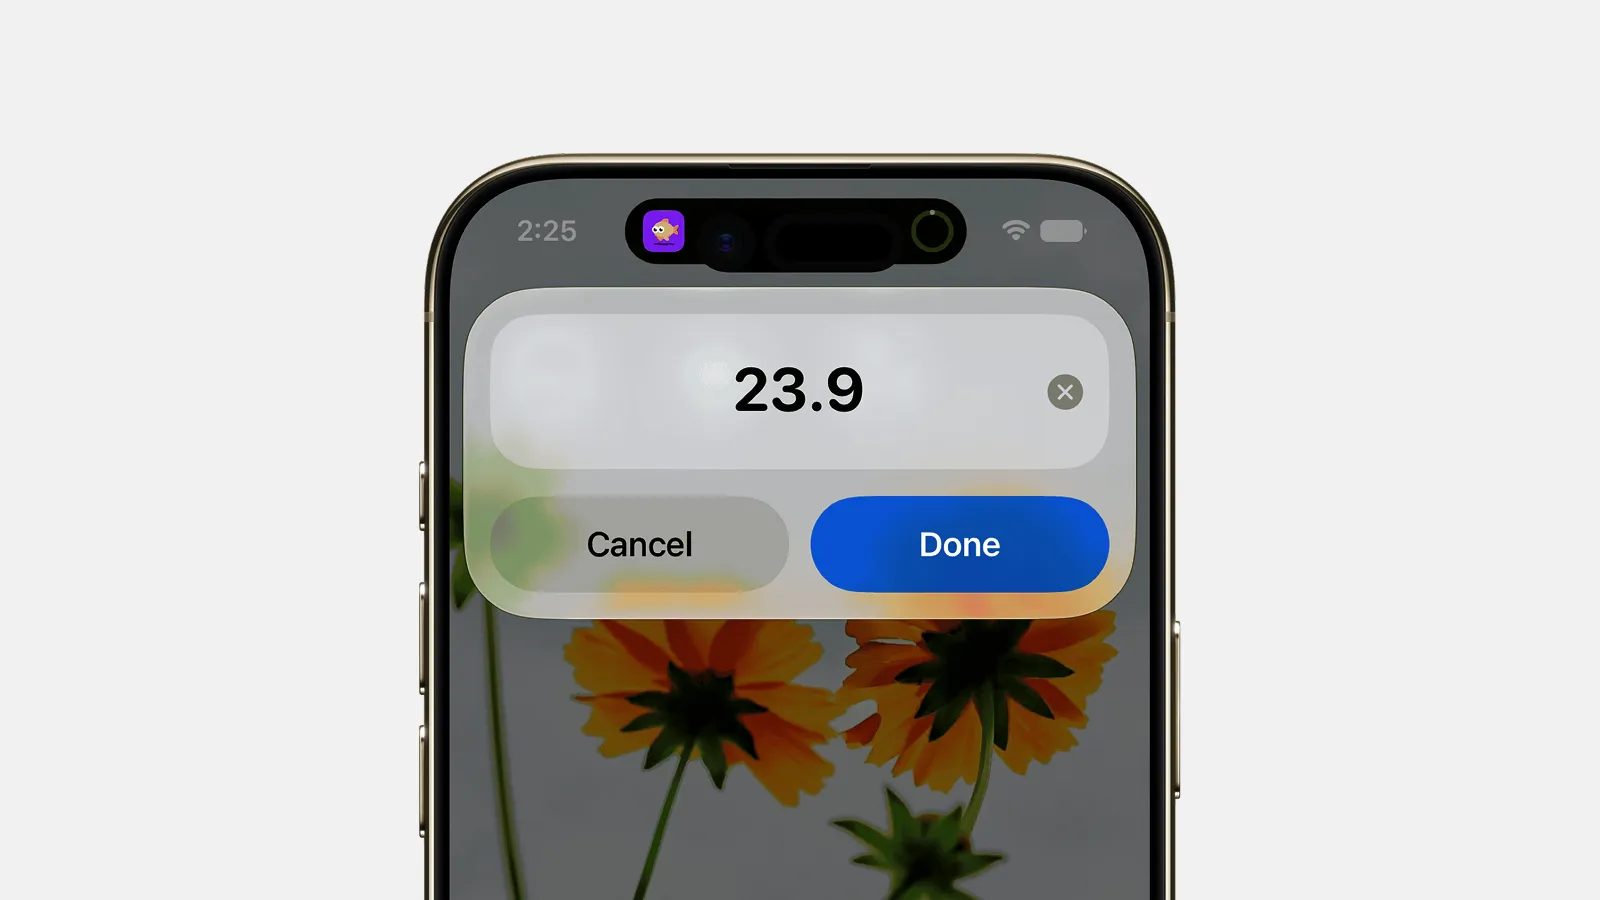
How to Build an iPhone Expense Tracker Shortcut (2026)
Most people who quit expense tracking quit for one reason: the gap between spending money and recording it is too wide. You buy a coffee, you mean to log it, and by the time you have unlocked your phone, found the right app, and tapped through three menus, the moment is gone. So are the next two purchases.
This tutorial closes that gap. You will build an iPhone expense tracker shortcut from scratch in the Apple Shortcuts app, then wire it to fire from Siri, an NFC tag, or a Home Screen widget so a whole entry takes about two seconds. It writes to whatever you already use, a Numbers sheet, Apple Notes, Reminders, or a finance app. If you want the wider menu of ideas first, skim our Apple Shortcuts for expense tracking guide, then come back here to build one properly.
What an Expense Tracker Shortcut Actually Does
An expense tracker shortcut is a small automation that collects an amount, a category, and an optional note, then writes that row to a destination of your choice. It runs the same way every time, so logging becomes a reflex instead of a decision. Most people trigger it by voice, a tap, or a single button.
The point is not to replace judgment about your money. It is to remove the friction that stops you recording it in the first place. A shortcut that fires in two seconds gets used. An app that takes fifteen seconds to open does not.
What You Need Before You Start
- An iPhone with the Shortcuts app (preinstalled on every modern iPhone, and free to reinstall if you deleted it). Apple's official user guide is a solid reference if you get stuck.
- A destination for the data: a Numbers spreadsheet, an Apple Note, a Reminders list, or a finance app that exposes Shortcut actions.
- Optional: a pack of programmable NFC stickers, about $15 for ten, if you want the tap-a-tag trigger later.
- About ten minutes.
How to Build the Shortcut Step by Step
- Open the Shortcuts app and tap the + in the top right to create a new shortcut.
- Add an amount prompt. Tap Add Action, search for Ask for Input, and choose it. Set the input type to Number and the prompt to something like "How much?". This is what pops up when the shortcut runs.
- Add a category prompt. Add a second action: search for Choose from Menu. Add your usual categories as menu items (Food, Transport, Groceries, Fun, Bills). A fixed menu is faster and cleaner than free typing.
- Combine the pieces into one line. Add a Text action and build a single record, for example
[Provided Input] - [Menu Result] - [Current Date]. Insert the variables by tapping the variable chips in the keyboard row. This is the row that gets saved.
- Send it to your destination. Add the action that matches where you want the data to land:
- Numbers: Add Row to Table (point it at your expenses sheet).
- Apple Notes: Append to Note.
- Reminders: Add New Reminder.
- A finance app: its own "log expense" action, if it offers one.
-
Name it and make it reachable. Tap the shortcut name at the top, rename it "Log Expense", and choose an icon. Then tap Add to Home Screen so it is one tap away, or leave it for Siri and NFC below.
-
Test it. Run the shortcut once. Enter an amount, pick a category, and confirm the row shows up in your destination. If it does, you are done building.
How to Trigger It Without Opening Anything
Building the shortcut is half the win. The other half is never having to hunt for it.
- Siri: just say "Hey Siri, Log Expense" and speak the details. Full setup is in our log expenses with Siri guide.
- NFC tag: stick a programmable tag on your wallet or card, then in Shortcuts → Automation → NFC attach your shortcut. Tap the phone to the tag after you pay.
- Home Screen or Lock Screen widget: add the Shortcuts widget so it is a single tap from your first screen.
- Back Tap: double or triple tap the back of the phone to fire it, covered in our Back Tap expense logging guide.
- Action Button: on iPhone 15 Pro and newer, bind it to the side button, as in our Action Button expense tracker setup.
Where a DIY Shortcut Starts to Hurt
A hand-built shortcut is genuinely good, and for a lot of people it is enough. Be honest about the ceiling, though, because it shows up within a few weeks:
- You are still the categorizer. The menu is manual. There is no learning, so you pick the category every single time.
- There are no running totals or insights. A Note or a sheet is a pile of rows. You still have to build the summary yourself.
- It breaks. Rename the destination note, reorder a Numbers column, or update iOS, and the shortcut quietly stops working until you fix it.
- Automations nag. NFC and location automations often ask you to confirm before running, which defeats the two-second goal.
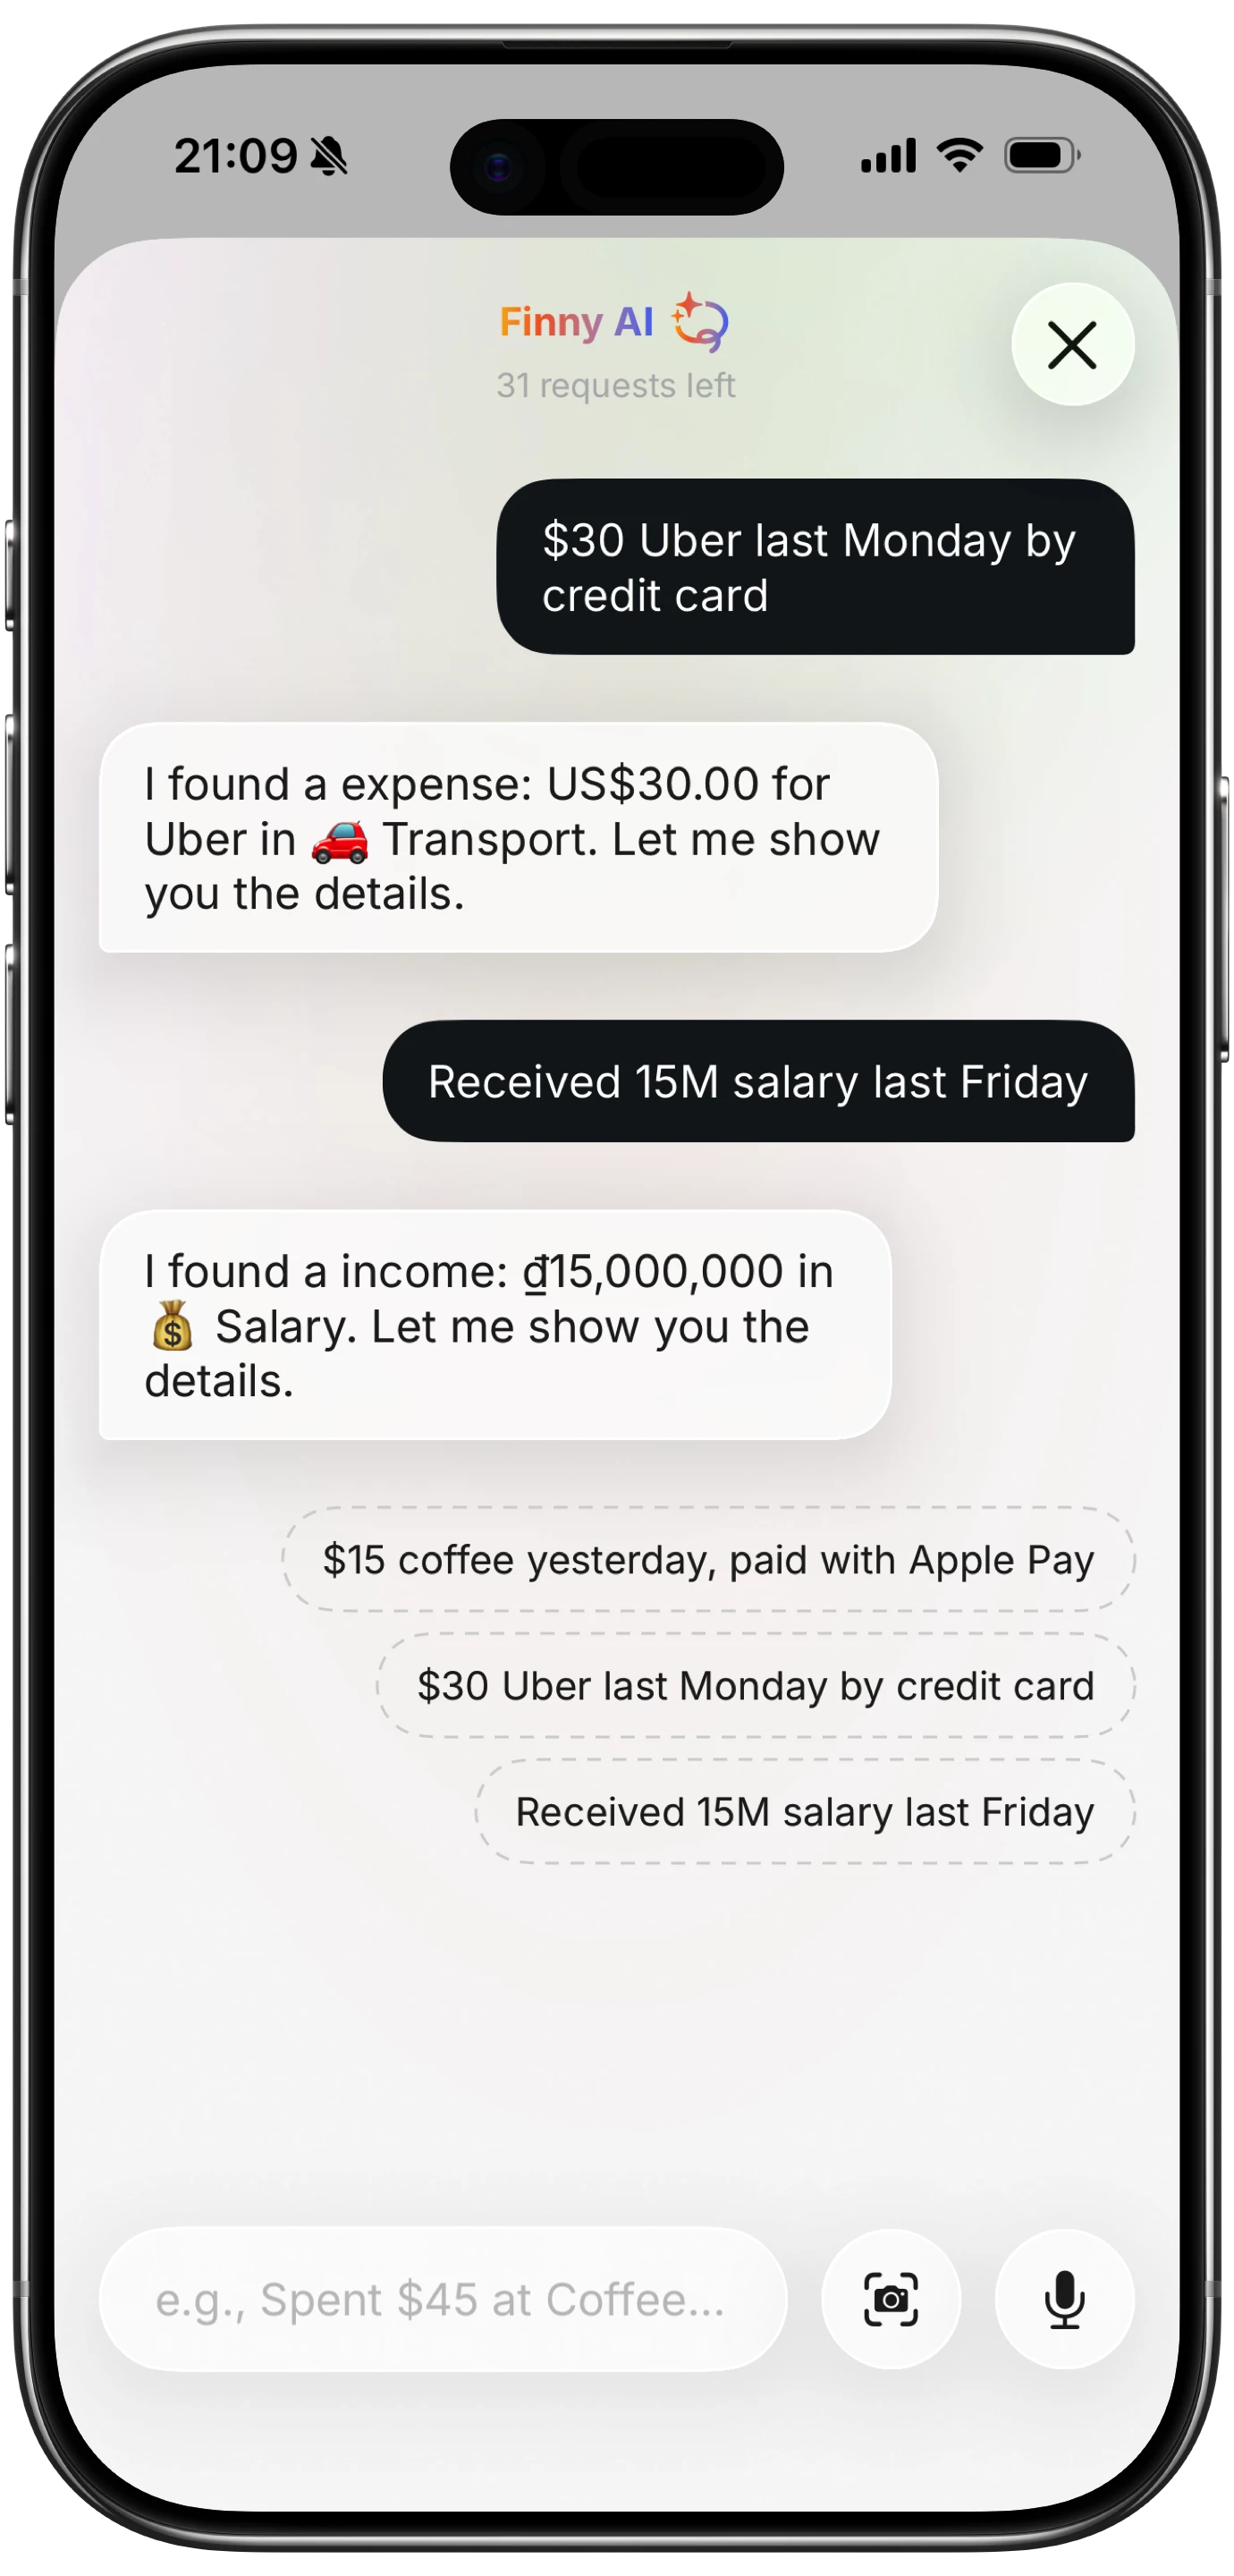
Finny app's AI chat feature
This is the point where a purpose-built app earns its keep. Finny exposes the same kind of Shortcut actions you just wired up, but adds AI categorization on top, so a spoken "twelve dollars, coffee" lands in the right category with a running total and no formula maintenance.
The Faster Option: Let It Log Itself
You can run the shortcut above forever, and it costs nothing. If you would rather not maintain it, Finny ships the same idea as a shortcut that stays up to date for you. Quick Log gives you the tap-and-type entry you just built, and Tap to Track catches Apple Pay purchases automatically using Shortcuts and NFC, so the entry is created the moment you pay. It is free to start, needs no bank connection, and works offline.

Finny app's Quick Log feature
Because the shortcut lives inside the app, there is no separate file to download and re-download every time it changes. Install Finny from the App Store, and Quick Log and Tap to Track are ready to set up inside it. That is the real difference: a DIY shortcut is yours to maintain, an in-app shortcut maintains itself.
The manual route teaches you exactly what is happening under the hood. The maintained route means you never think about it again. Either way, the goal is the same: record the coffee before you forget it.
Frequently Asked Questions
How do I create an expense tracker shortcut on iPhone?
Open the Shortcuts app, tap the plus button, and add an Ask for Input action for the amount, a Choose from Menu action for the category, a Text action to combine them, and a destination action such as Add Row to Table or Append to Note. Name it, add it to your Home Screen, and test it once.
Can Siri log my expenses?
Yes. Once the shortcut exists, Siri can run it by name. Say "Hey Siri, Log Expense" and answer the prompts by voice. Pairing a shortcut with Siri is the fastest hands-free way to record spending while your hands are full.
Do Apple Shortcuts work offline?
Shortcuts that write to on-device destinations like Notes, Reminders, or a local finance app work with no internet. Shortcuts that write to a cloud service such as Google Sheets need a connection to sync, though they can often queue and send later.
Why does my shortcut automation ask to confirm every time?
Personal automations that use NFC or location default to asking before they run, for safety. You can turn that off in the automation's settings by disabling Ask Before Running, which makes tap-to-log truly instant.
Is a shortcut better than an expense tracking app?
A shortcut is better at capture speed. An app is better at categorization, totals, and insight. The strongest setup uses both: a fast trigger to record the expense, and an app that organizes it for you. That is why apps like Finny publish their own Shortcut actions.
The Bottom Line
A two-second logging habit beats a perfect system you abandon in a week. Build the shortcut above, wire it to Siri or an NFC tag, and start capturing expenses at the moment they happen. If maintaining it ever becomes a chore, hand the job to an app that keeps the same shortcut working and sorts the entries for you. For the full set of triggers and ideas, circle back to our Apple Shortcuts for expense tracking guide. The same two-second pattern works well beyond expenses, as our 2-second log-anything shortcut shows, and our best money shortcuts for iPhone roundup collects the rest in one place.